5 Simple Crafts Made From Plastic Bag Rope
Do you think plastic bags are the worst thing ever?
I guess I am kind of in the middle of that debate. I believe there are too many plastic bags in circulation, but they are pretty convenient, and while I try to limit my use of them, they still seem to accumulate. So like anything else that I have in abundance, I start pondering how I might use the item in some crazy new craft project.
So here are some projects that I made with plastic bag rope.
You may have seen these projects before made from twine, but here they are with a new upcycled twist. 🙂
Are you wondering what in the world is plastic bag rope? Well, it looks a lot like twine but you make it with brown plastic grocery bags.
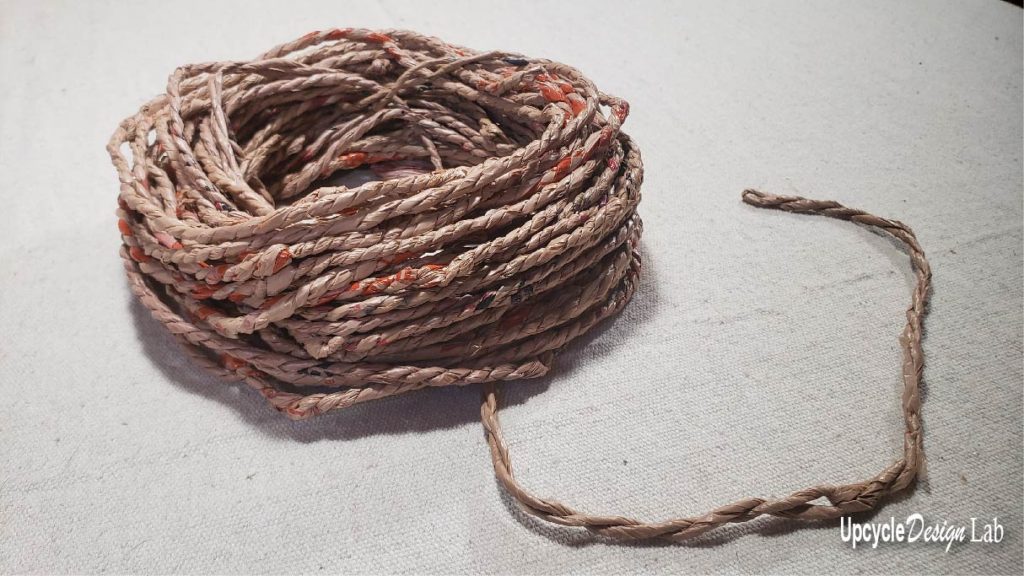
If you don’t know how to make rope from plastic bags, watch my quick 2-minute tutorial below.
Spin Plastic Bag Rope * FAST * using a crochet hook – Upcycle faux twine
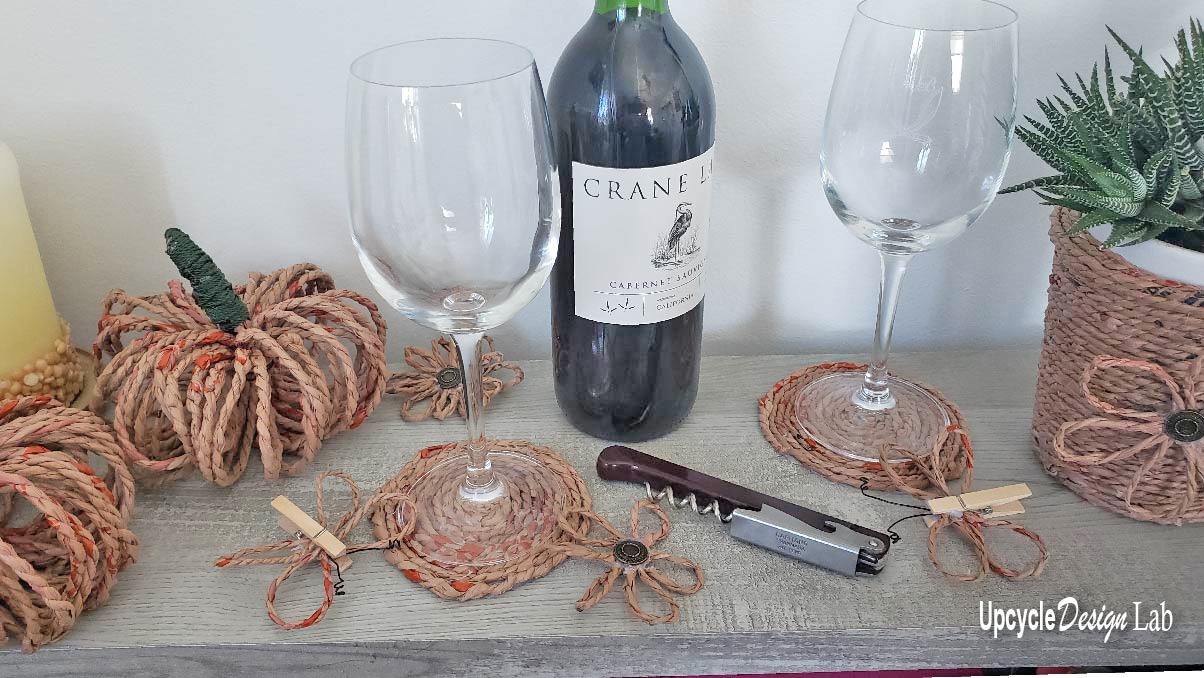
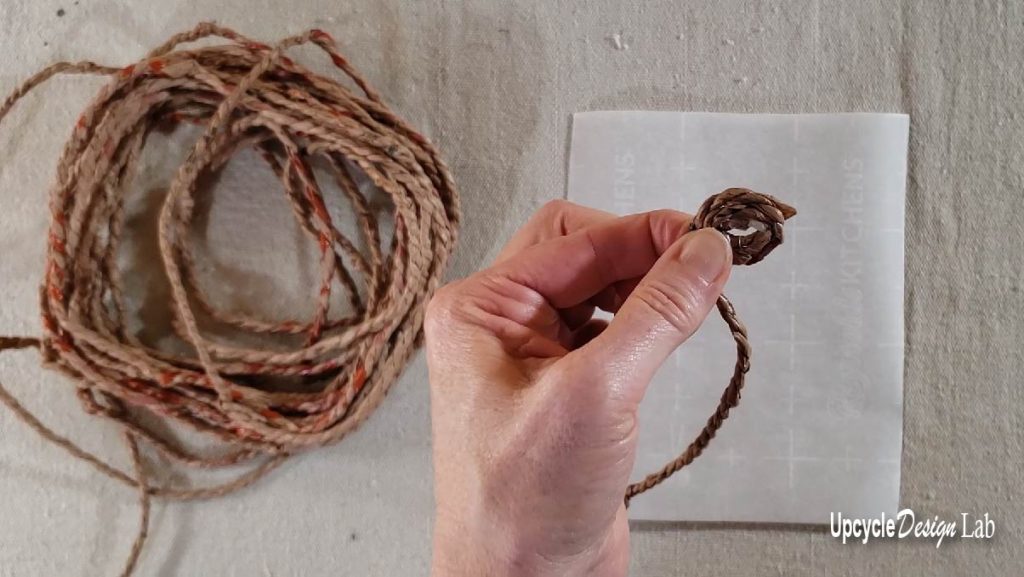
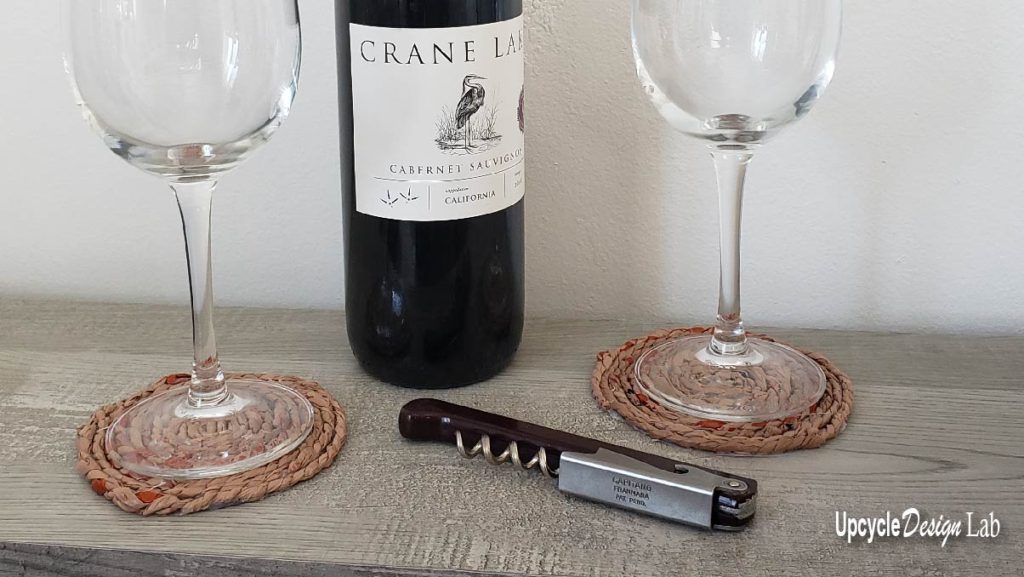
Project 1 – Outdoor Coasters
Materials
- Plastic Rope (approximately 7 feet per coaster)
- Parchment Paper
- Hot Glue Gun
- Scissors
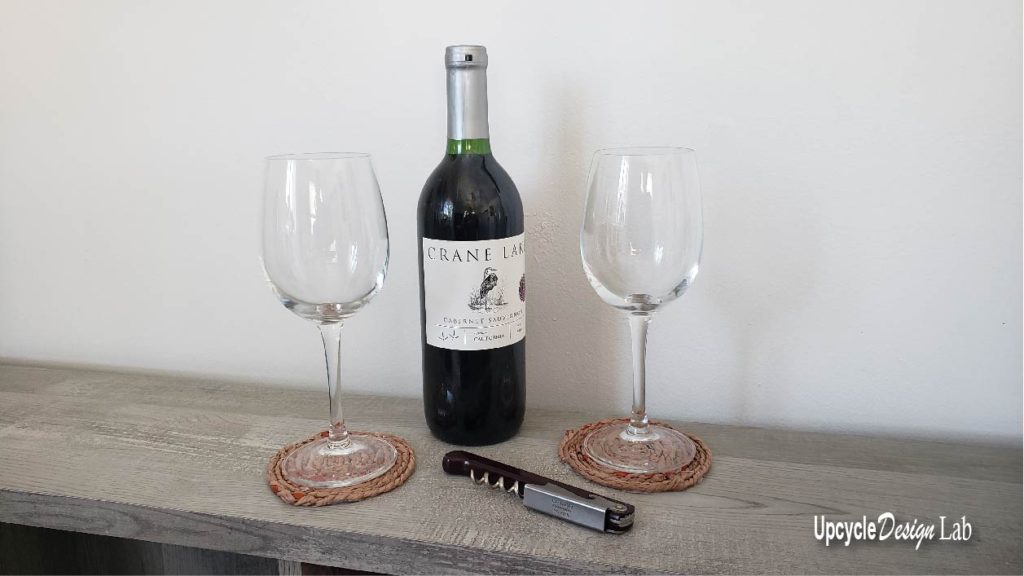
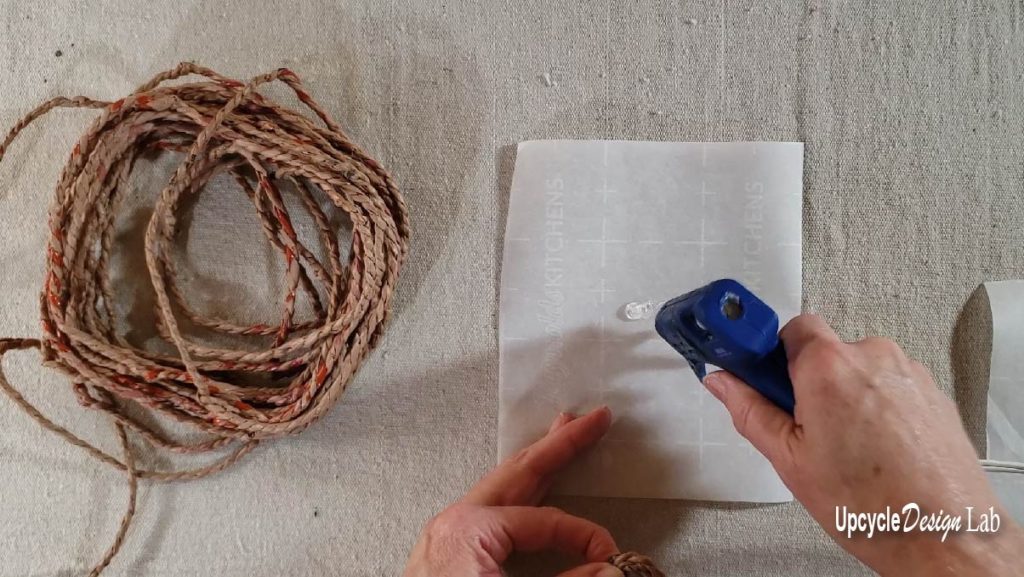
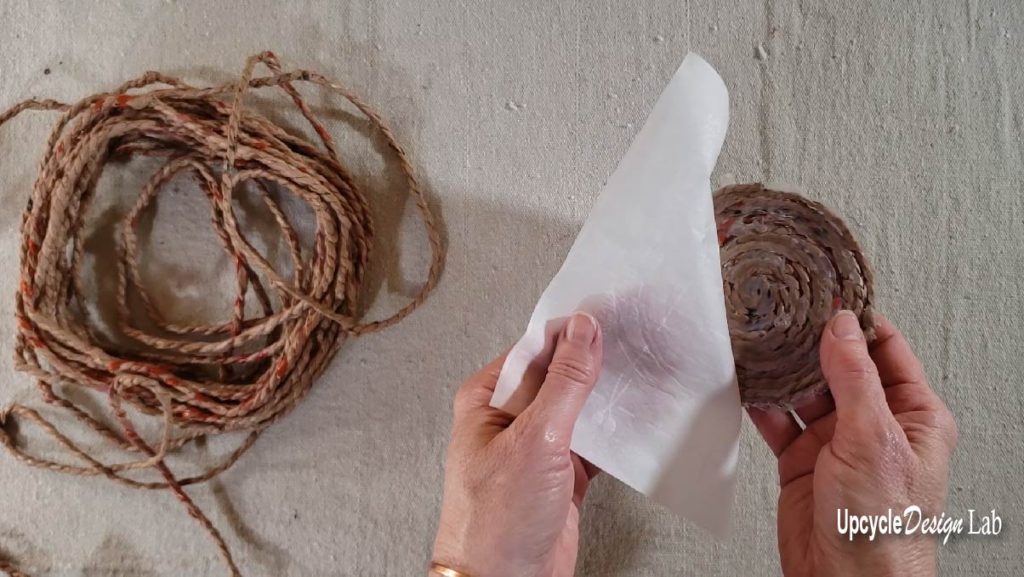
Step 1 – Cut a small square of parchment paper approximately 8″x8″. Start rolling a small coil of plastic rope. Squeeze a small amount of hot glue in the center of the parchment paper. Push the coil into the hot glue and allow it to cool.
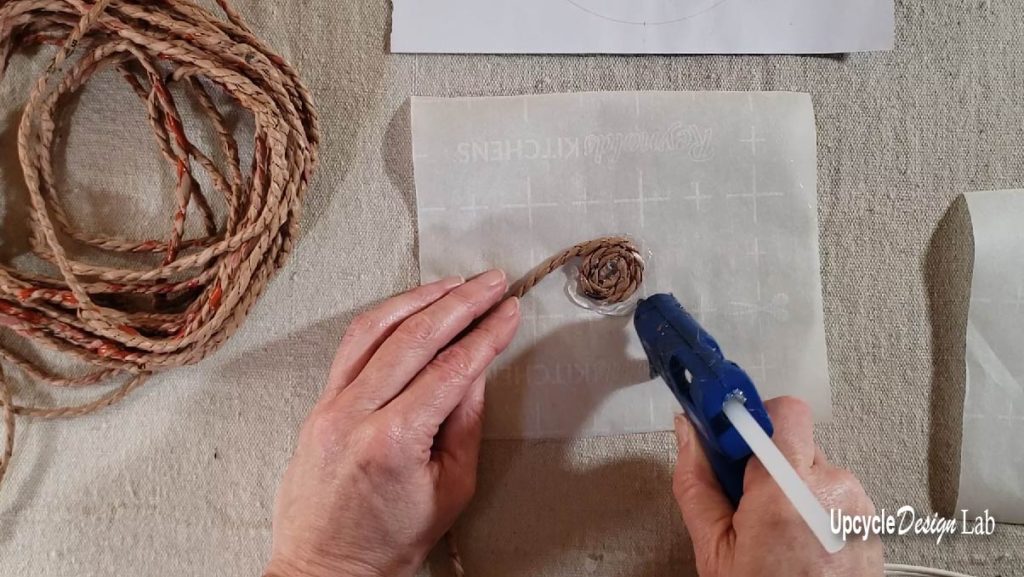
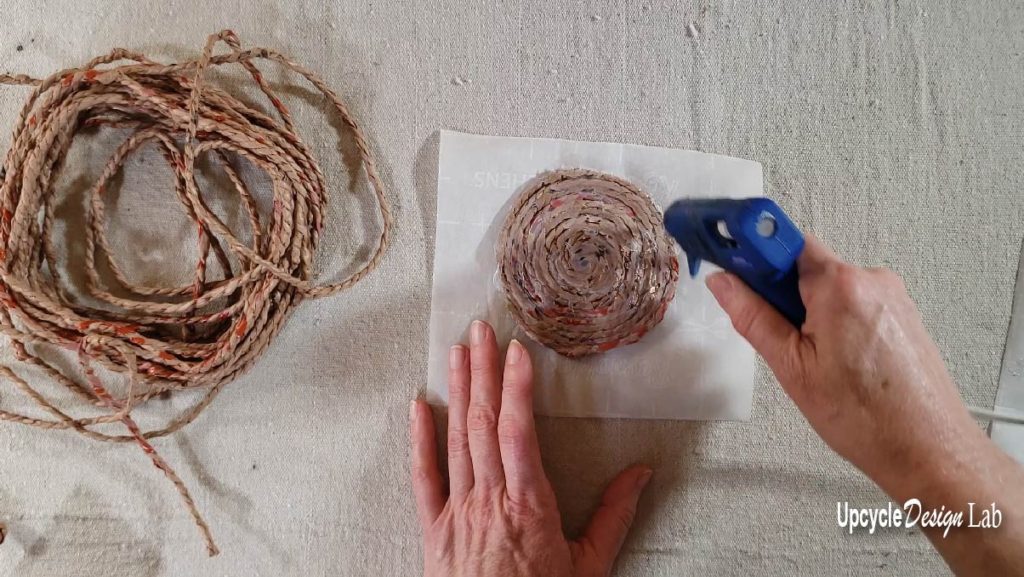
Step 2 – Add glue to parchment paper about 3 inches at a time and continue coiling plastic rope until you reach your desired size. Trim off the excess plastic rope.
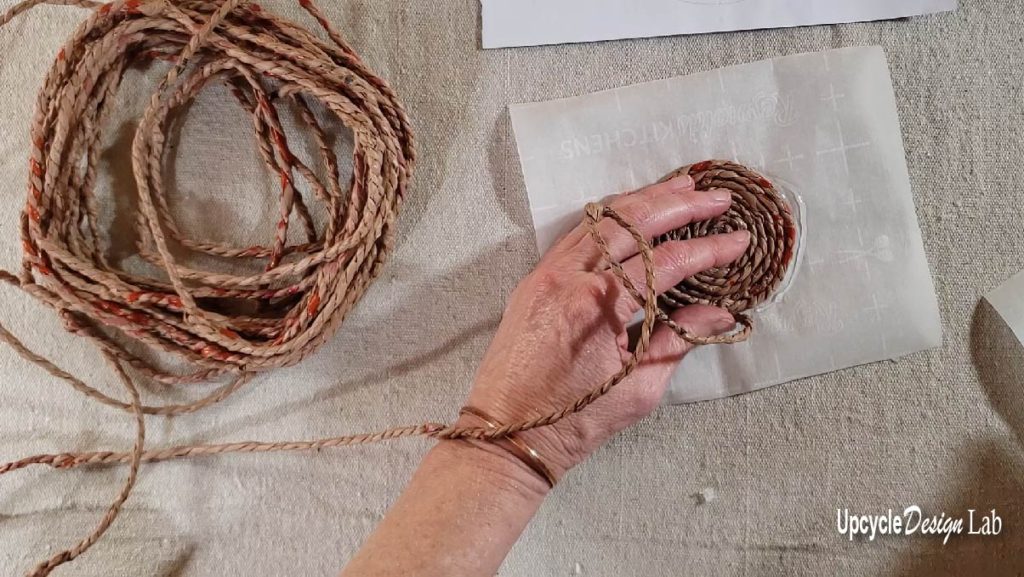
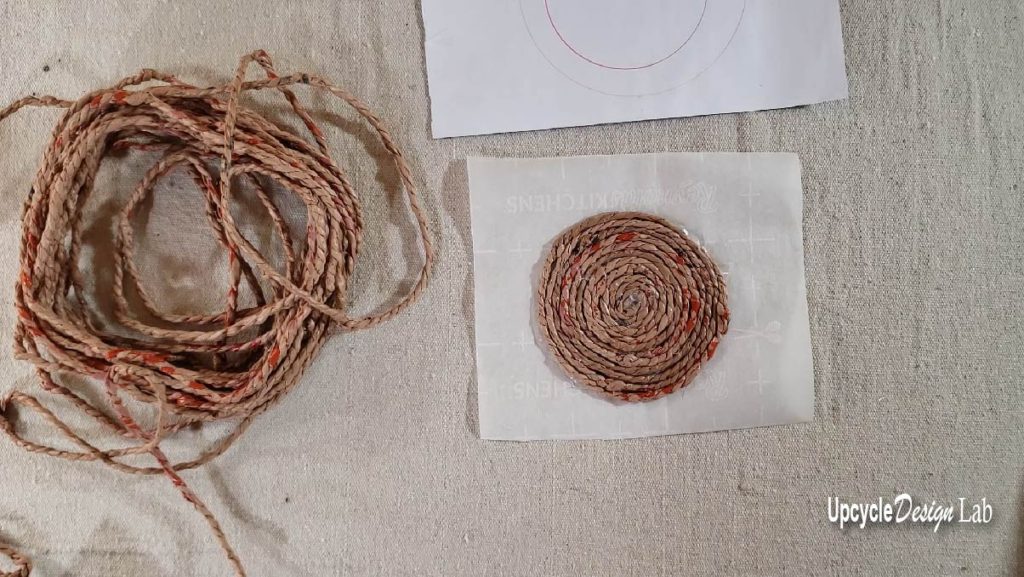
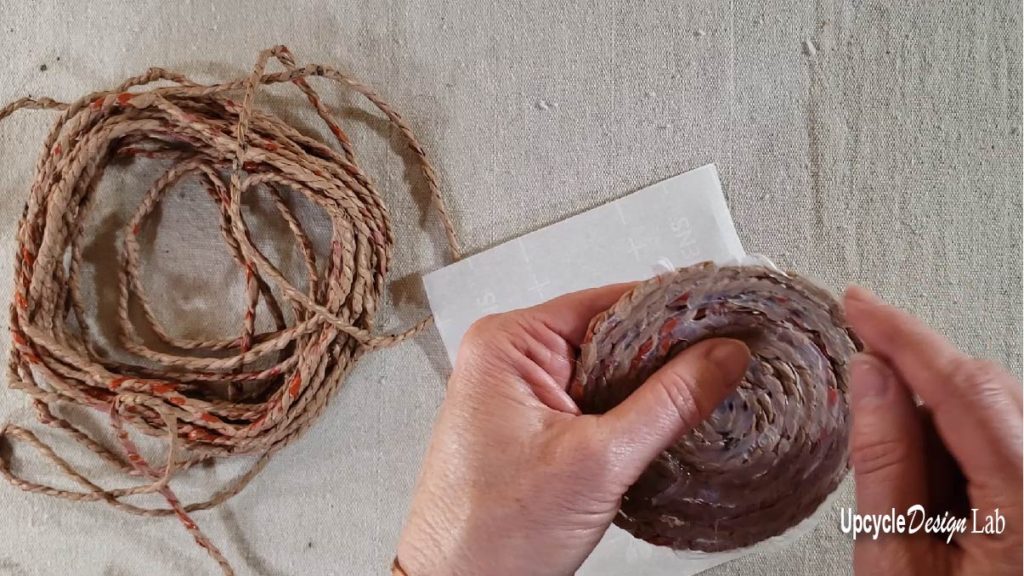
Step 3 – Add additional hot glue to empty the bottom of the coaster to fill in any gaps. The extra glue will add strength and stability to the coaster. While the glue is still hot, press the coaster back onto the parchment paper to flatten the glue. Repeat this process until the bottom of the coaster is covered with a smooth layer of glue. To complete the coaster, trim off any excess adhesive using a pair of craft scissors.
Project 2 – Plastic Planter
Materials
- Plastic Rope (approximately 8 yards)
- 16oz plastic container (cottage cheese, yogurt)
- Hot Glue Gun
- Scissors

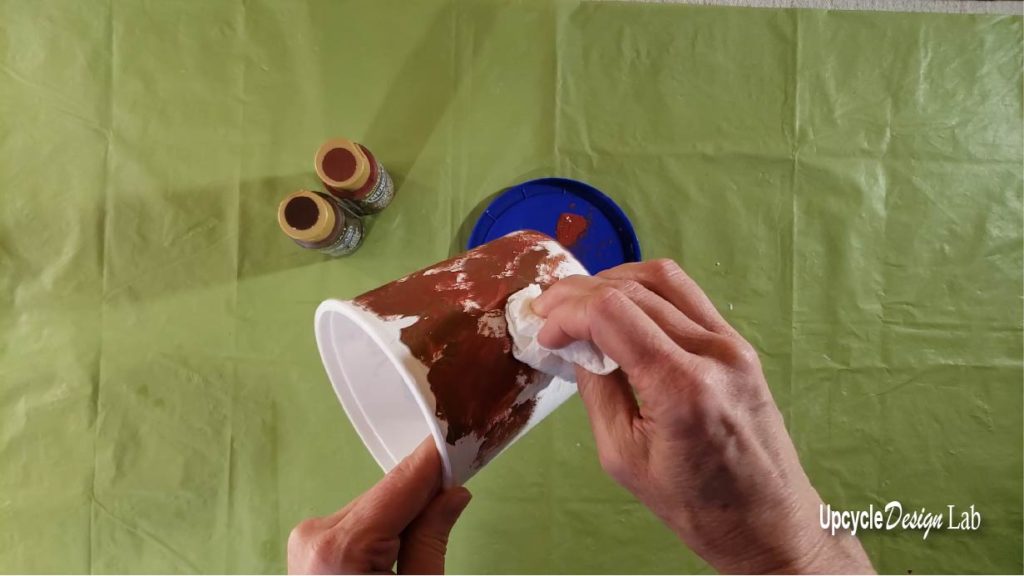
Step 1 – Clean the plastic container. Next, you can punch a hole in the bottom of the container and add some paint to camouflage the print on the container if desired.
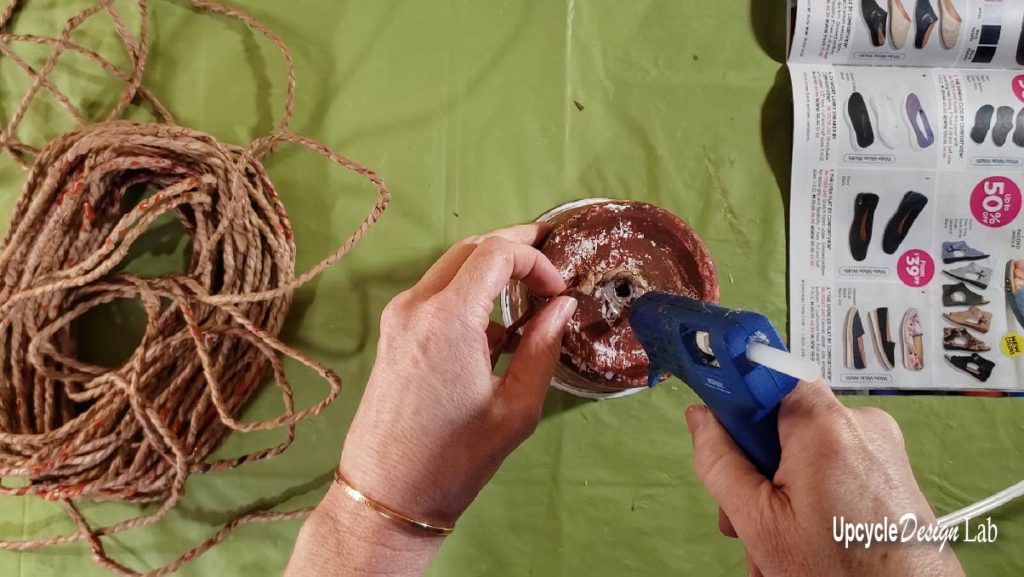
Step 2 – Start on the bottom of the container in the center. Place a small amount of hot glue in the center and begin coiling the plastic rope.
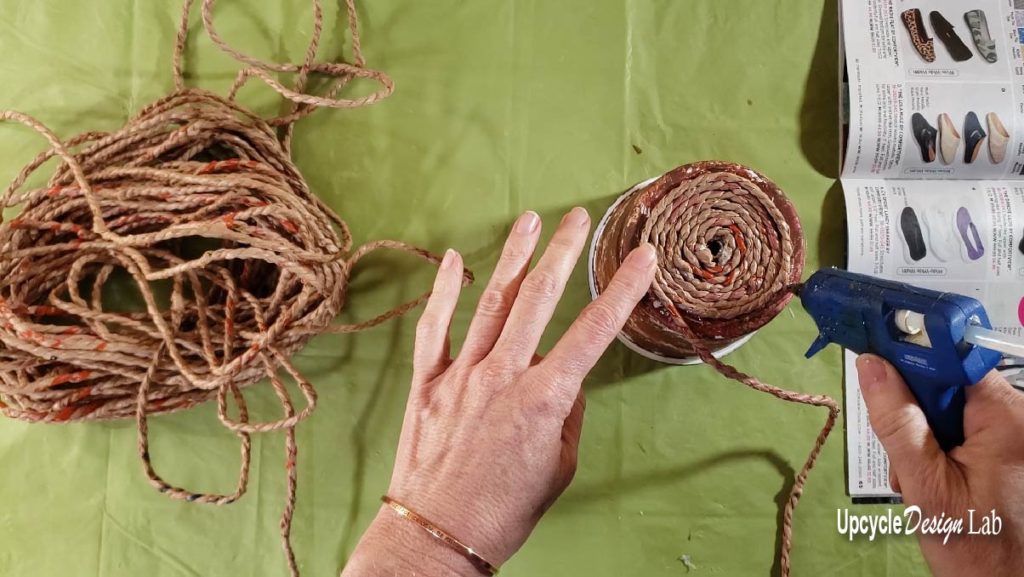
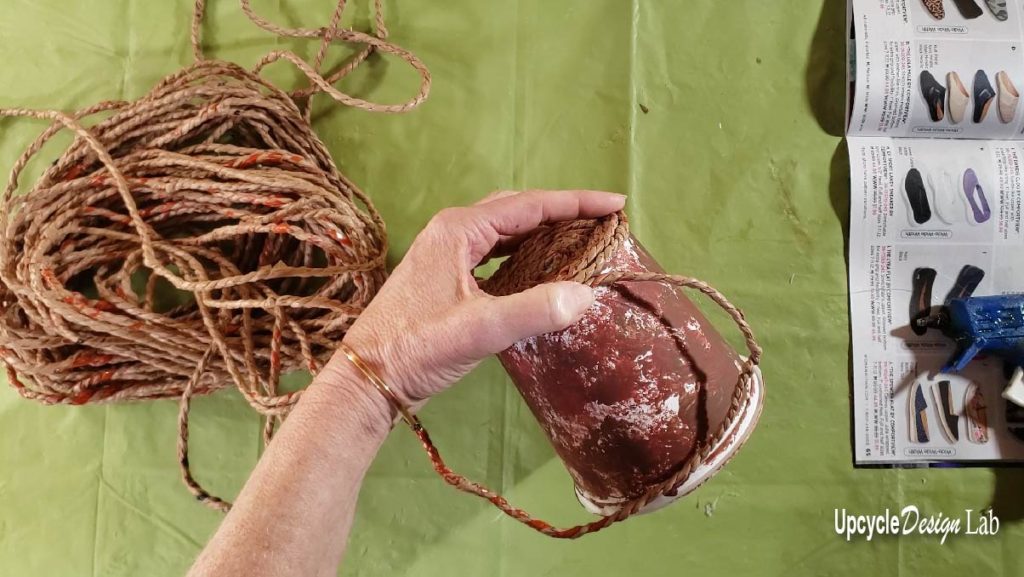
Step 3 – Continue working with hot glue and plastic rope to cover the entire container.
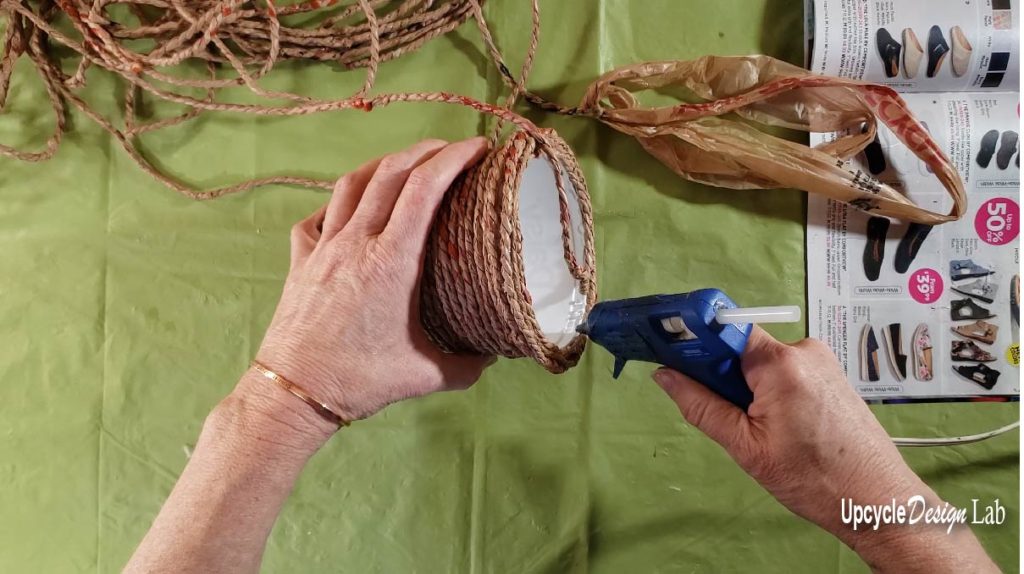
Step 4 – Decorate with plastic 🌼 flower (optional)
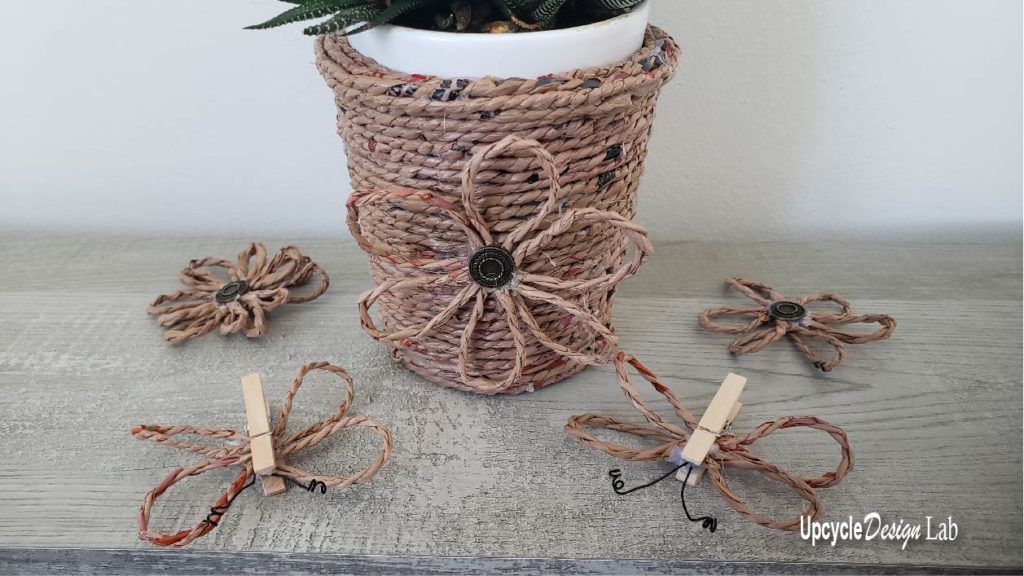
Project 3 – Flowers
Materials
- Plastic Rope (approximately 12 inch per flower)
- Parchment Paper
- Button or something similar
- Hot Glue Gun
- Scissors
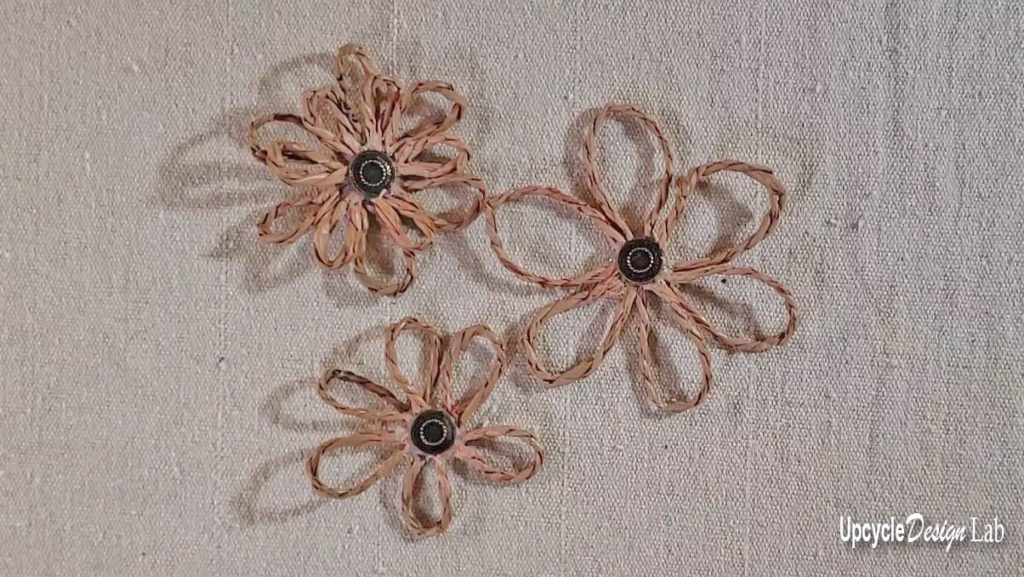
Step 1 – Cut six or more pieces of plastic rope to the desired length and loop into a teardrop shape, then glue ends together with the glue gun. 🔫
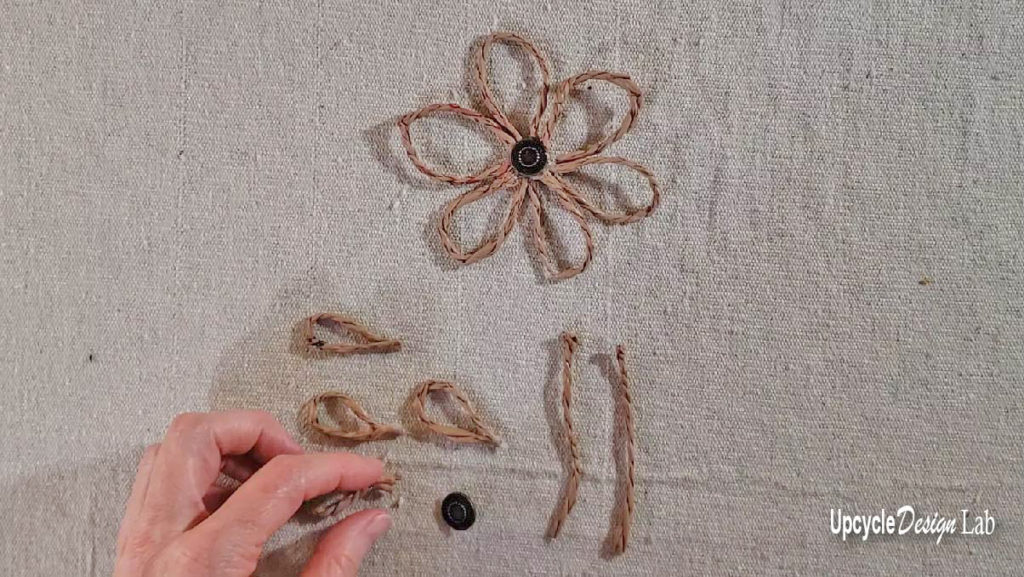
Step 2 – Attach petals to the backside of the button to complete the 🌼 flower.
Project 4 – Butterfly
Materials
- Plastic Rope (approximately 12 inch per butterfly)
- Small Clothespin (one per 🦋 butterfly)
- Florist wire
- Toothpick
- Hot Glue Gun
- Scissors
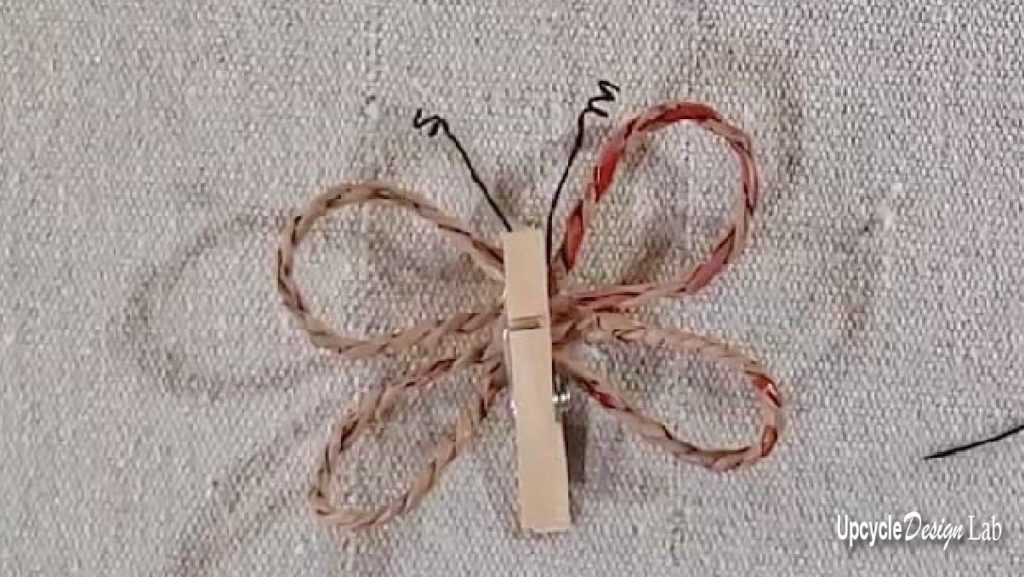
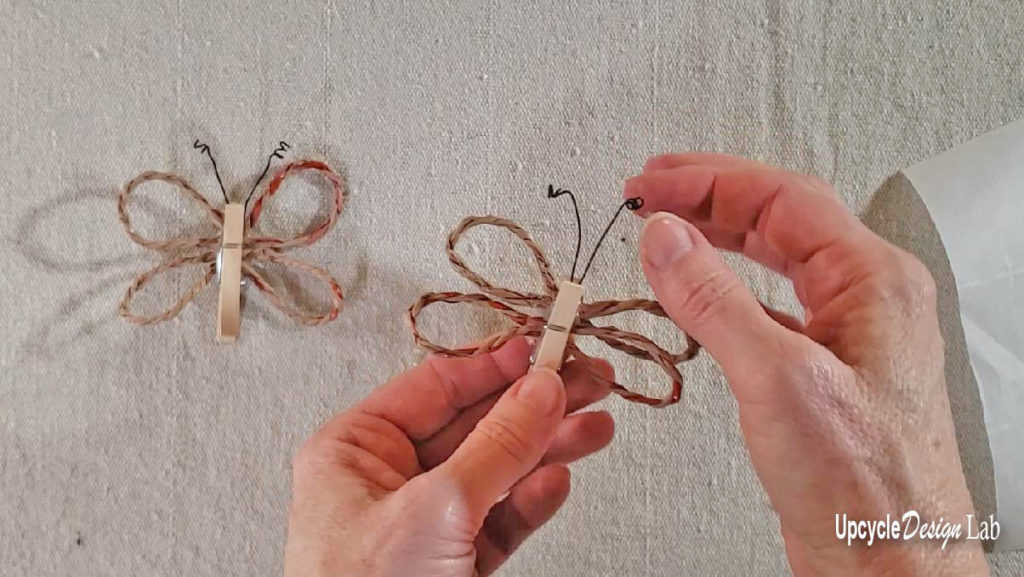
Step 1- Cut four pieces of plastic rope to the desired length.
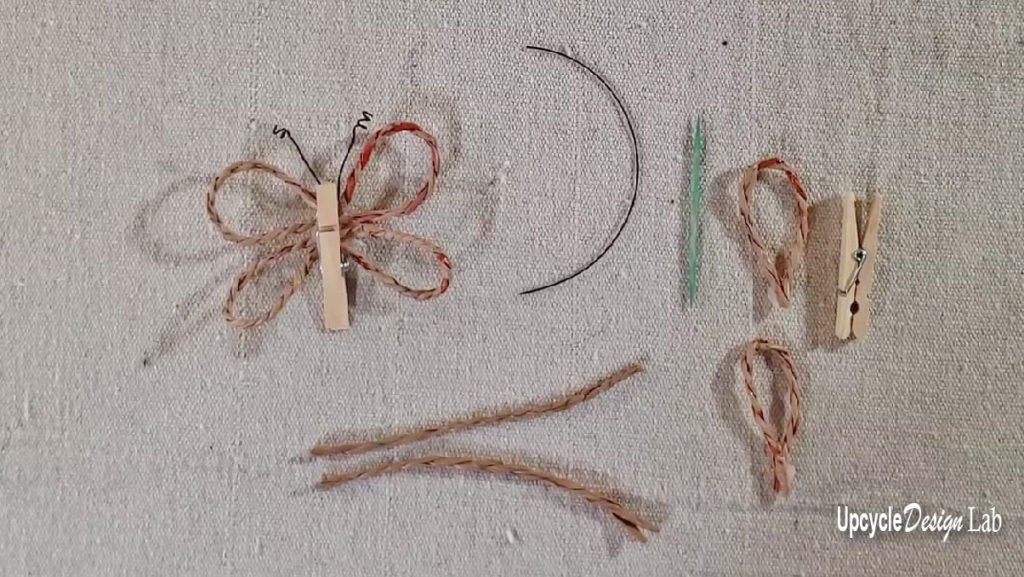
Step 2 – Loop pieces into a teardrop shape and glue ends together.
Step 3 – Use hot glue to attach teardrop pieces into the clothespin in the shape of a butterfly. 🦋
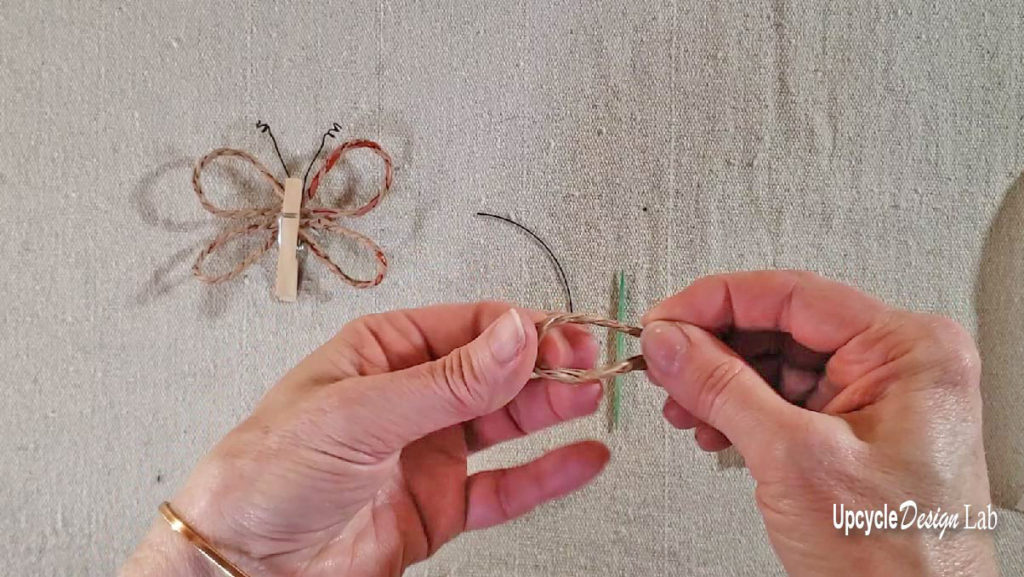
Step 4 – Cut a short piece of wire and fold in half. Use the toothpick to shape the ends of the wire into a coil.
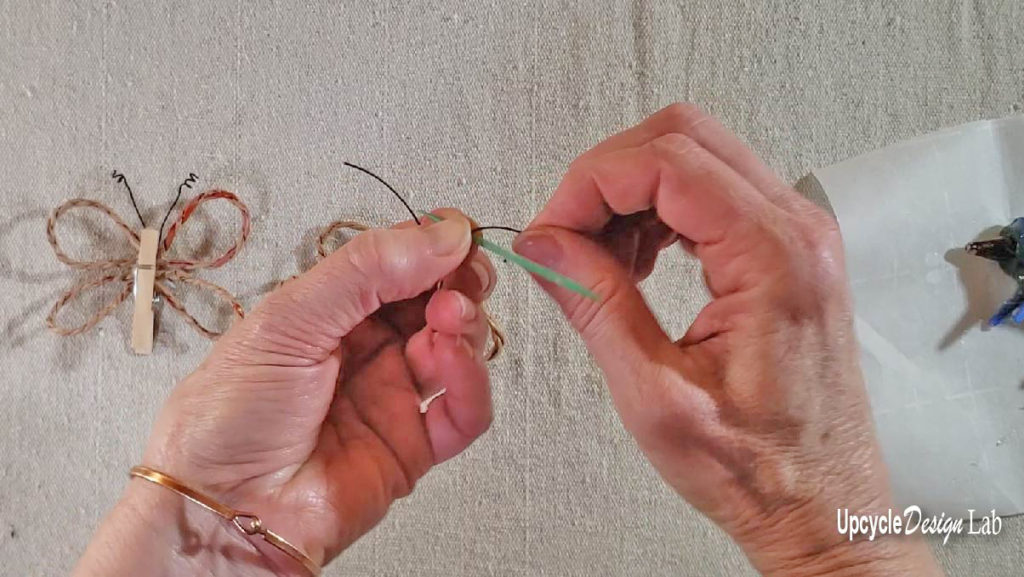
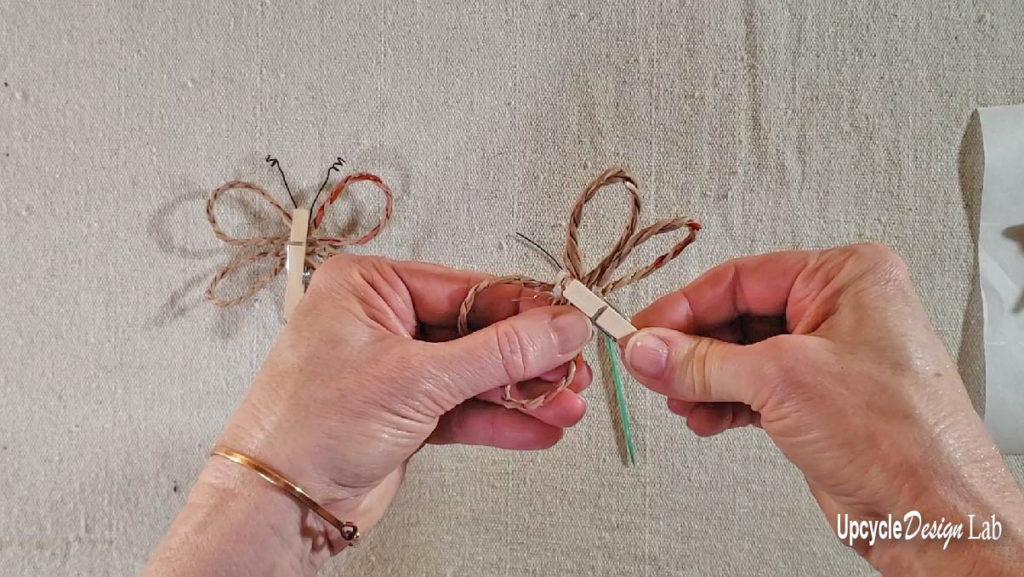
Step 5 – Attach the wire to the tip of the clothespin to complete the butterfly.
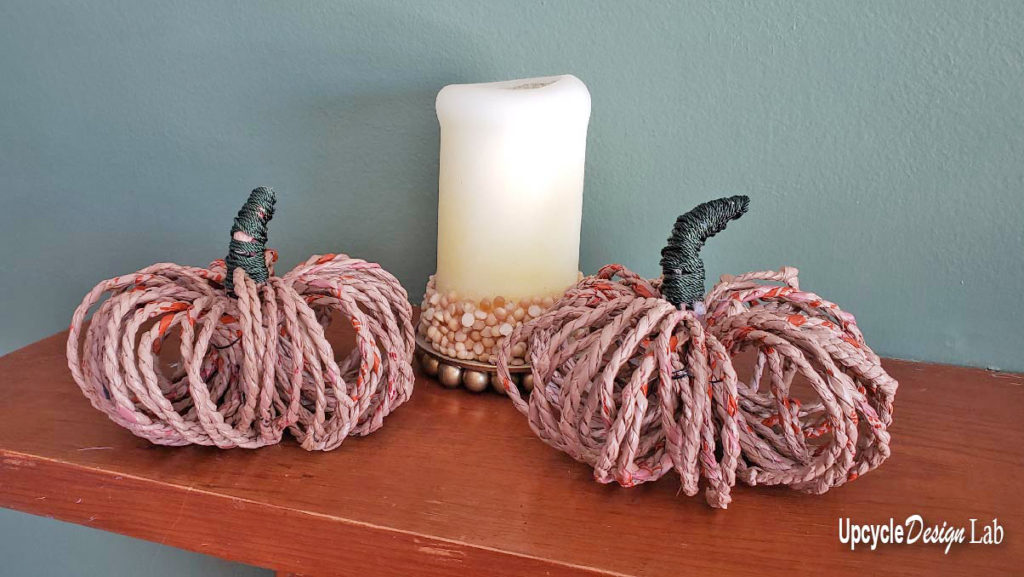
Project 5 – Pumkin
- Plastic Rope (approximately 4 yards per pumpkin)
- Green Cording
- Hot Glue Gun
- Tape
- Cylinder Shape (approximately 2 to 3 inch in diameter and 10 to 12 inches long
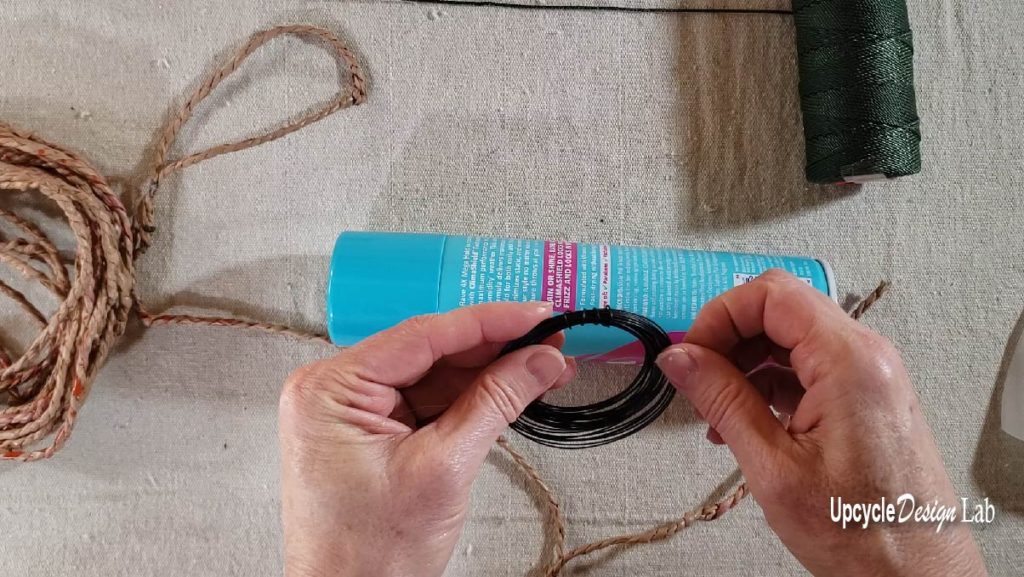
- Florist wire
- Scissors

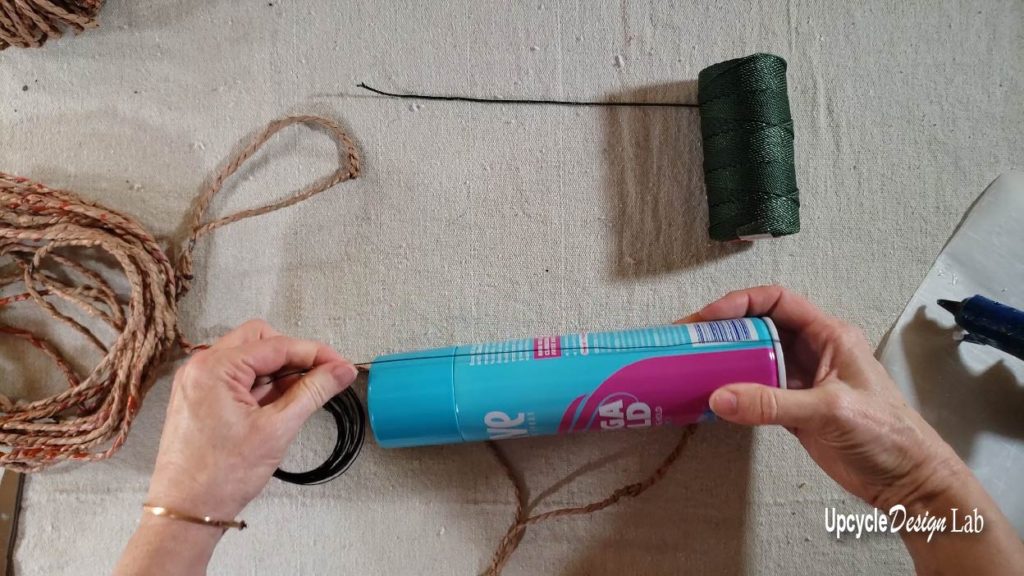
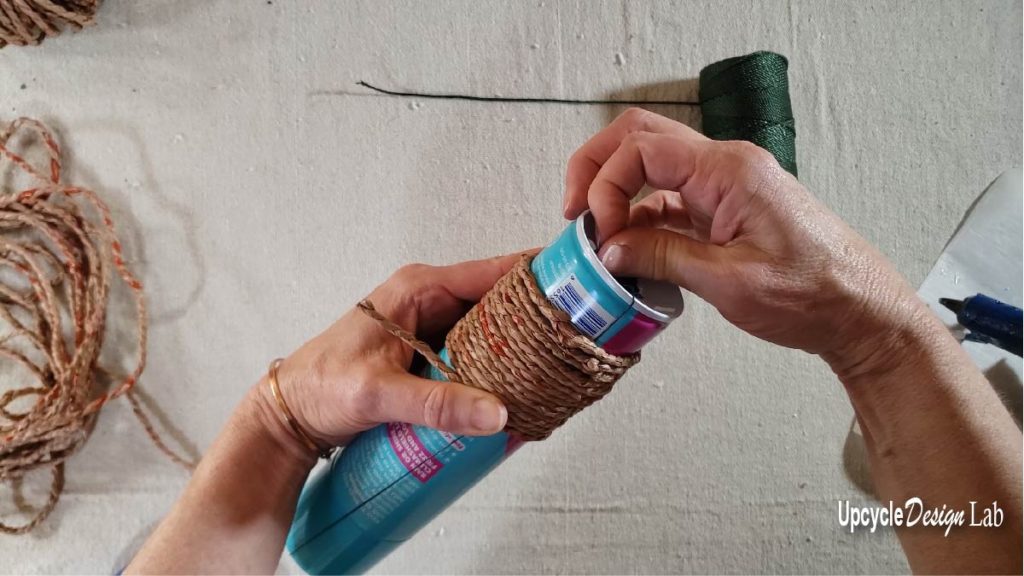
Step 1 – Cut a piece of wire and tape it lengthwise onto your cylinder shape.
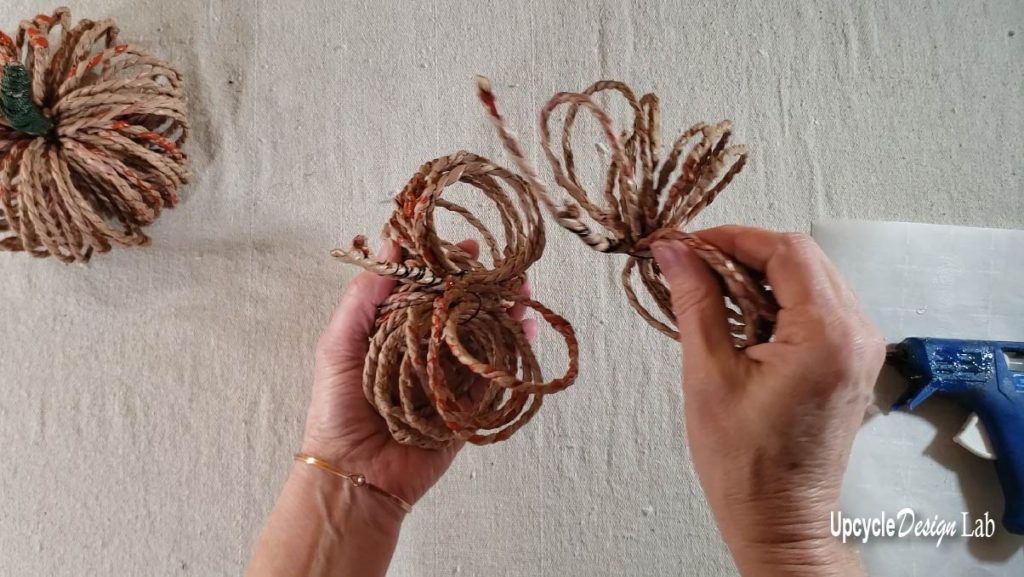
Step 2 – Wrap plastic cording around cylinder 15 times. The wrap should be tight but loose enough to slide off the cylinder. Next, remove the tape and center the wire.
Step 3 – Carefully slide coils off of cylinder and twist the wire to tighten. Repeat this process two more times so that you have three sections.
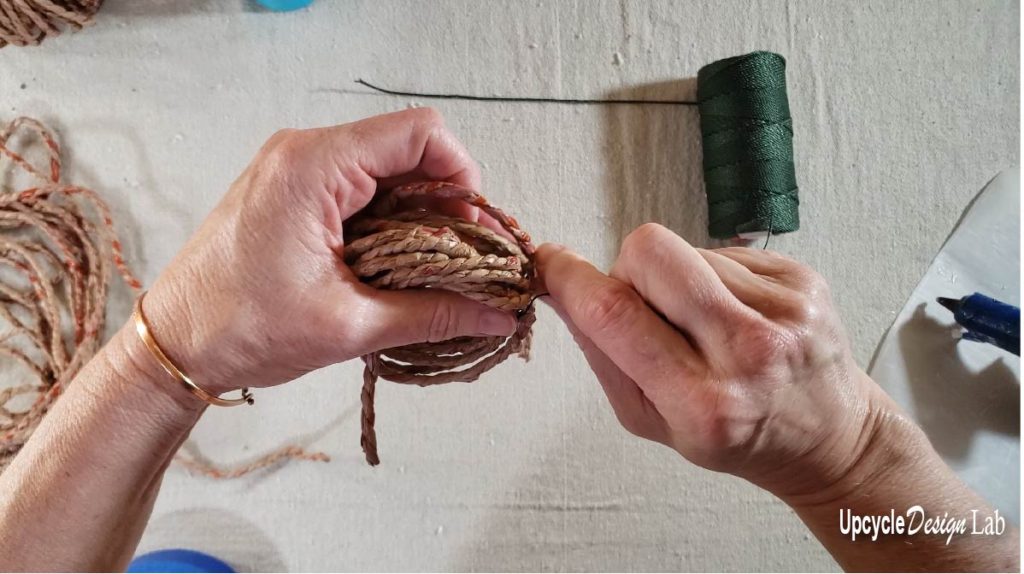
Step 4 – Wrap the wire around the two loose ends of the plastic rope on all three sections.
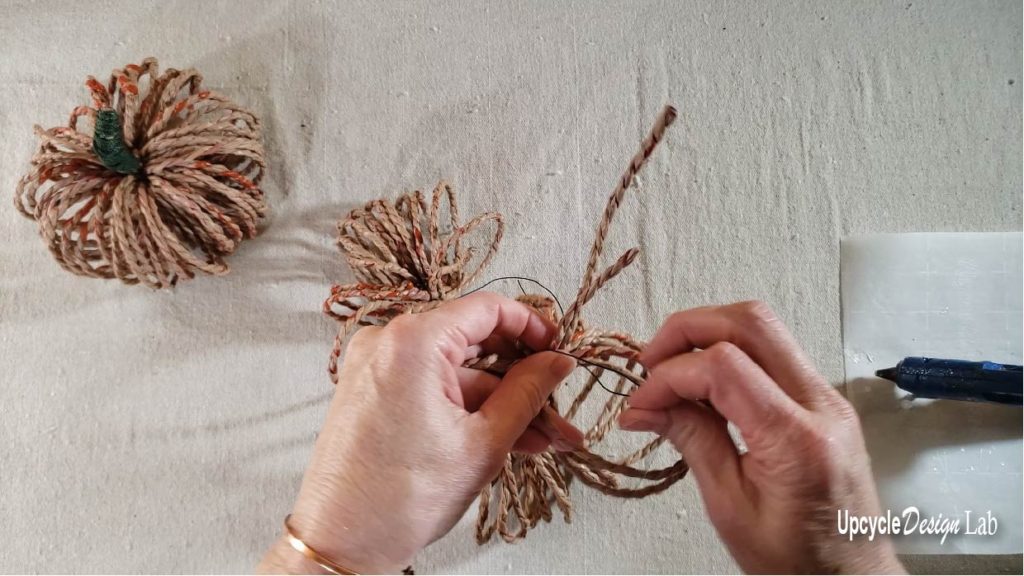
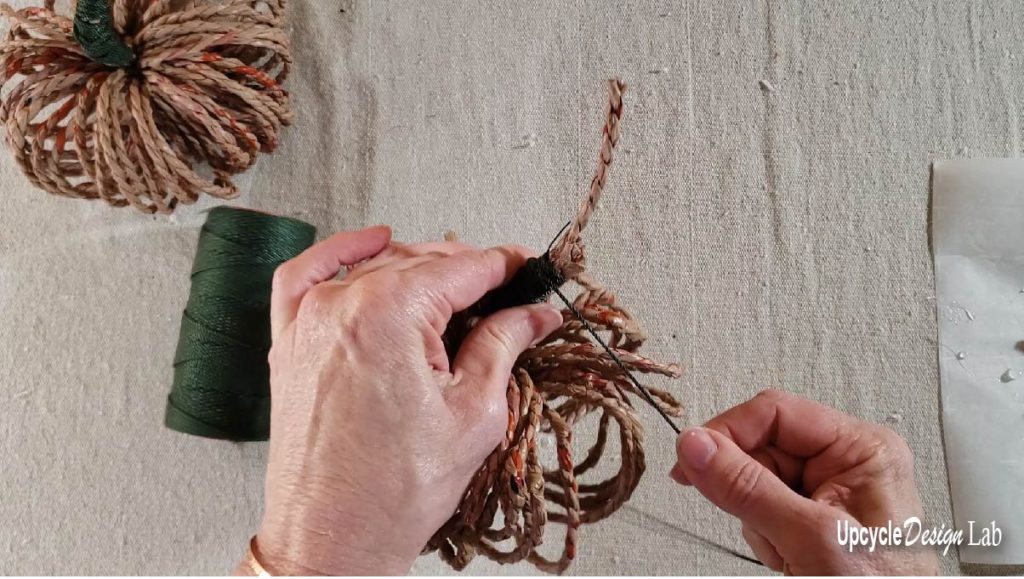
Step 5 – Next, use the hot glue to attach the three sections into a pumpkin shape.
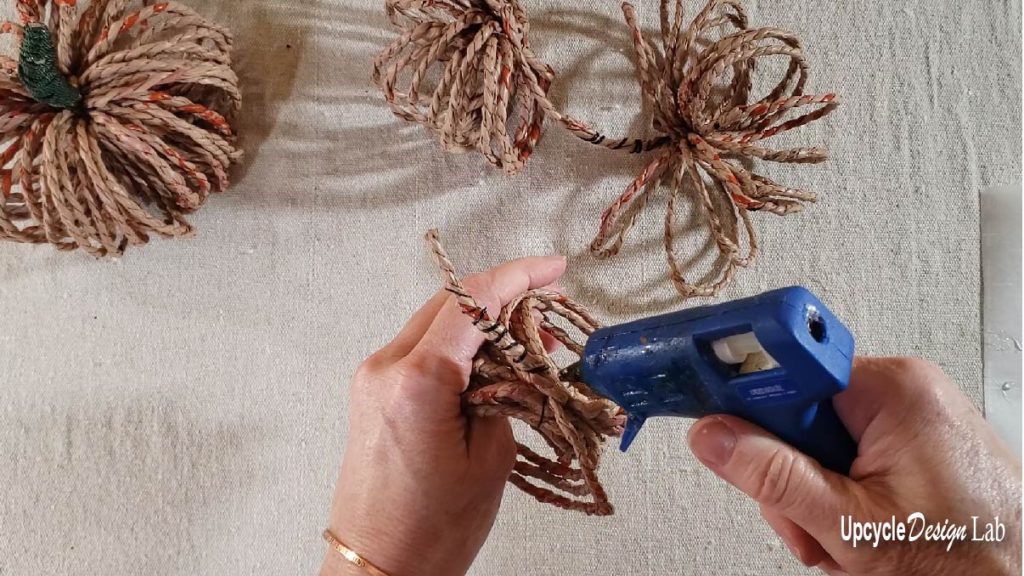
Step 6 – To complete the pumpkin, wrap the stem with green cording. Trim off excess plastic and shape pumpkin.
Thanks for stopping by.
Happy Upcycling,
Cindy
Advertising Disclosure: Upcycle Design Lab may be compensated in exchange for featured placement of certain sponsored products and services or your clicking on links posted on this website.


