Baked Mod Podge Easter Bunny Decorations
Spring is finally here, and I couldn’t be hoppier about it, if you will pardon my terrible pun.
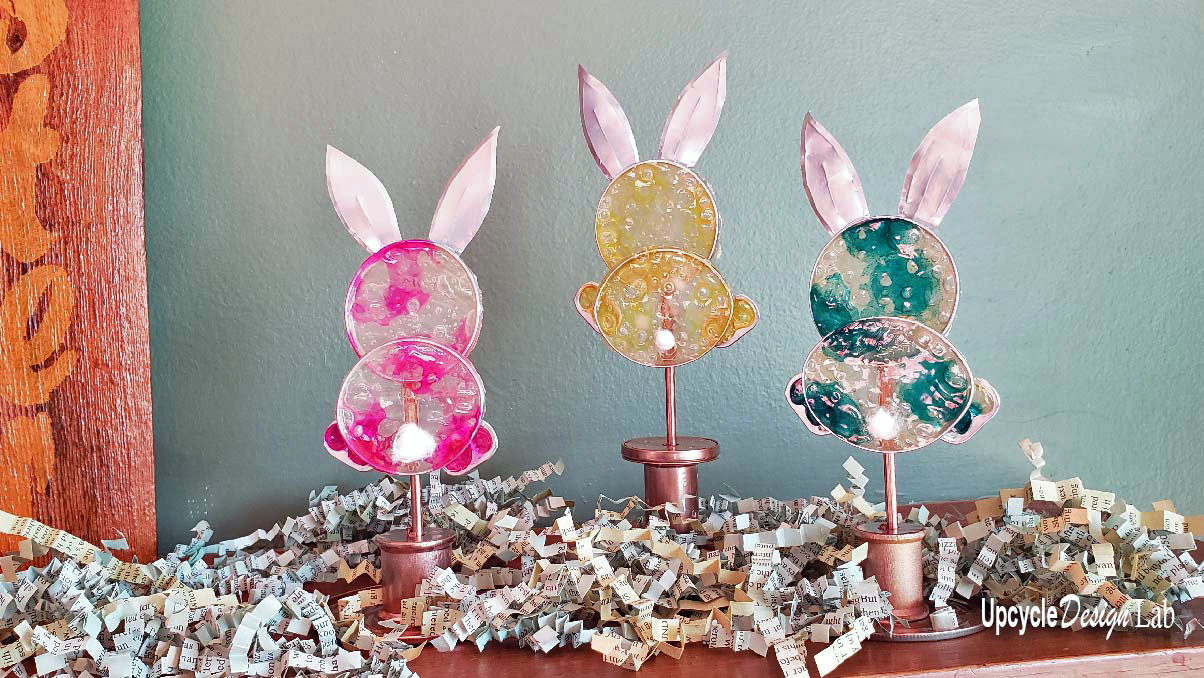
To kick off the spring season, I have a cute and simple Easter bunny project made from Mod Podge and aluminum cans. Check out this video for the full project.
Or you can check out the project in 20 seconds below.
Step 1 – Prep Cans
You will need two clean aluminum beer or soda cans for each bunny. The first step is to remove and save the tabs. Next, use a draft top tool to remove the can lid.

A regular can opener will also work if you don’t have a draft top tool, but it may slightly damage the aluminum.

Once the top was removed, I used a knife and scissors to cut the top portion of the can off just below the bend in the can. Next, I cut slits in the metal to make small tabs that I folded back and forth to remove from the ring.

If you are worried about the edges of the metal, you can wear gloves while working with the cans.
Once the excess metal has been removed from the ring, some burrs and jagged edges will be left. For this project, I used a hammer to flatten the rough edges.

To finish the rings, one was left in a round shape, and the other I bent into a more oval shape.

Step 2 – Mod Podge
For this step, the two rings and two pull tabs are placed on a cookie sheet with parchment paper underneath. The rings should be placed with the rough side toward the parchment paper. Next, I used a small spoon to fill the rings and tabs with mod podge. Don’t worry if some mod podge seeps out; most of the glue will stay in place.

Once the rings are filled, place a few drops of alcohol ink on top of the glue and carefully place the cookie sheet in the oven.

Bake at 200 degrees for four hours. Note additional drying time may be required either in the oven or over time.

Step 3 – Ears
I cut two pieces of an aluminum can to make the bunny ears and added some embossing for shape and dimension.

Note you can cut the shapes from the leftover cans, or if you prefer to cut the ears from a flattened sheet, check out this video on three ways to flatten aluminum cans into metal sheets.
Step 4 – Assembly
Once the mod podge was dry, I used E6000 glue to attach the pieces together in the bunny shape and added a small piece of cotton for the tail.

Step 5 – The Stand
To make the stands, I used a small wooden dowel, an empty spool of thread, and the top of a tin can glued with E6000 glue and spray painted with Rustoleum bright copper spray paint.

To finish, I used more E6000 glue to attach the bunny to the stand.

Happy Upcycling,
Cindy

Advertising Disclosure: Upcycle Design Lab may be compensated in exchange for featured placement of certain sponsored products and services or your clicking on links posted on this website.


