How To Make A Memory Wire Bracelet (With Aluminum Drink Can Beads)
Have you heard of Memory Wire? If you are a seasoned jewelry maker, you are probably well aware of this bracelet-making material. But since I am sort of a dabbler at jewelry making, I have just recently found out about this crazy wire.
As a semi-novice at jewelry making, I have definitely had some jewelry failures. For example, a few years ago, I learned about crimp beads, and I thought they were an ingenious invention until I tried to use them and found out that my competency was lacking. Try as I might, sometimes the crimp beads would hold, but more often than not, my jewelry piece would fall apart when exposed to the slightest bit of tension.
But I am happy to report that this newest discovery, while a little hard to handle, does make a sturdy beaded bracelet that does not fall apart. If you are not familiar with memory wire, picture making a bracelet from a slinky. It is quite uncooperative and can get tangled, but once the beads are secured in place, you should be safe from any jewelry mishaps.
Step 1 – Cutting Memory Wire
Memory wire is harder to cut than most other jewelry wire but with the correct tool, it is not that difficult to cut. Most jewelry wire can be cut with needle-nose or jewelry pliers, but a pair of nail-pulling pliers works well for the memory wire.

Before cutting, you will want to decide how many coils you want. I decided on three. Then I added one inch on each end to make a coil and a couple more inches for the bracelet to expand. Note it is better to have too much wire than not enough. So if you are in doubt, make your wire a little longer.
Step 2 – Rolling The End
For the next step, you will need to use a pair of round-tipped jewelry pliers. Start at one end and make three tight coils around the large end of the jewelry pliers. Again this wire is a little more difficult to work with than other jewelry wire, and you will want to make sure to wrap the wire in the direction of the existing coils.

Step 3 – Stringing The Beads
Now it is time for the fun part. Gather up your bead stash and start stringing. If you want to make your own beads from aluminum beer and soda cans as I did you can find my bead-making tutorials at the bottom of this post.
I recommend trying on the bracelet periodically to make sure you like the placement of your beads.
Add beads until you have filled all of your loops and the ends are across from each other.

Step 4 – Finishing
Once all the beads are strung, trim the memory wire if needed to leave about one inch past the last bead. Then use the round-tipped jewelry pliers to make a coil to secure the beads.

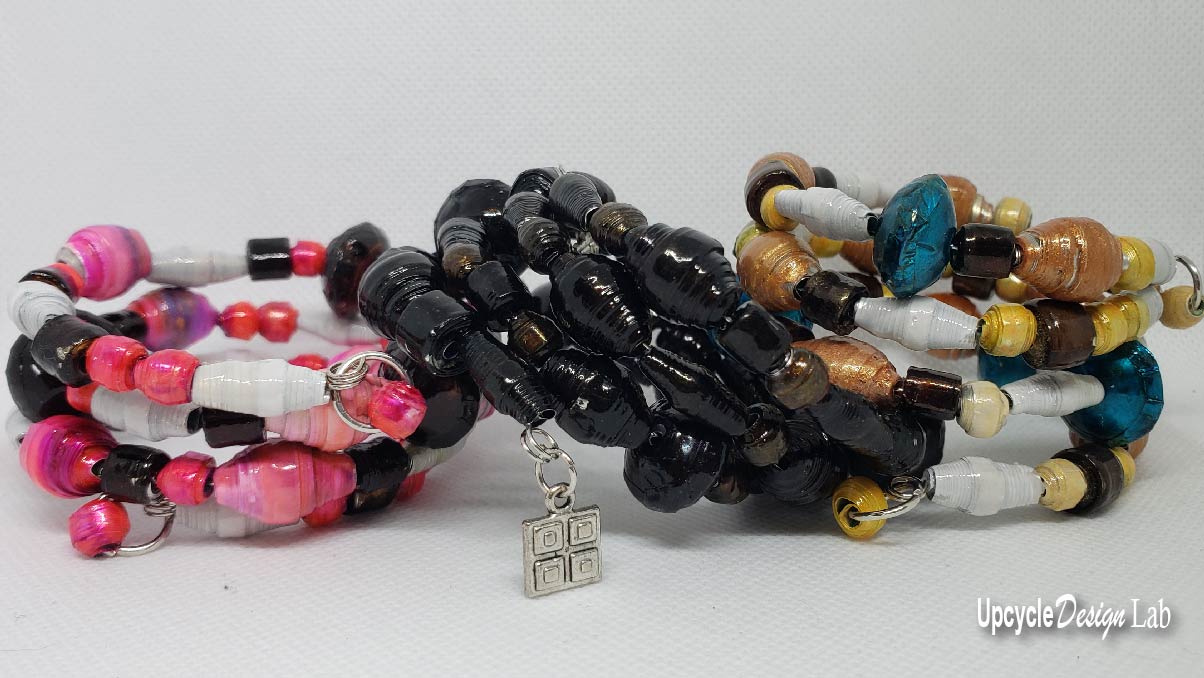
If desired, use jump rings to attach a charm or two to each end of the bracelet.

If you would like to learn how to make the aluminum can beads that I used to make my memory wire bracelets check out these two videos.

Advertising Disclosure: Upcycle Design Lab may be compensated in exchange for featured placement of certain sponsored products and services or your clicking on links posted on this website.


