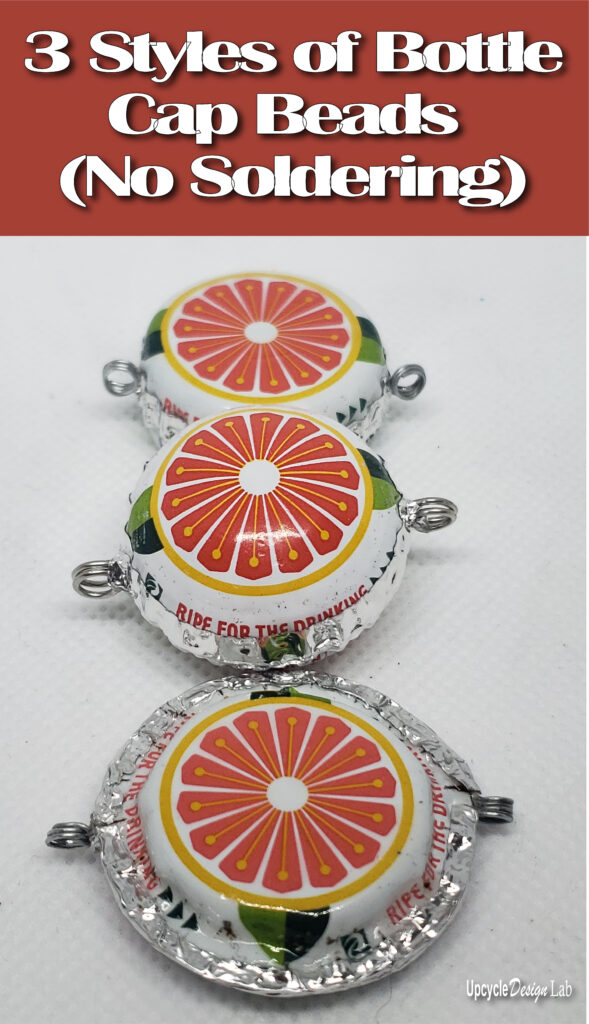
How To Make Bottle Cap Beads – Simple No Soldering Method
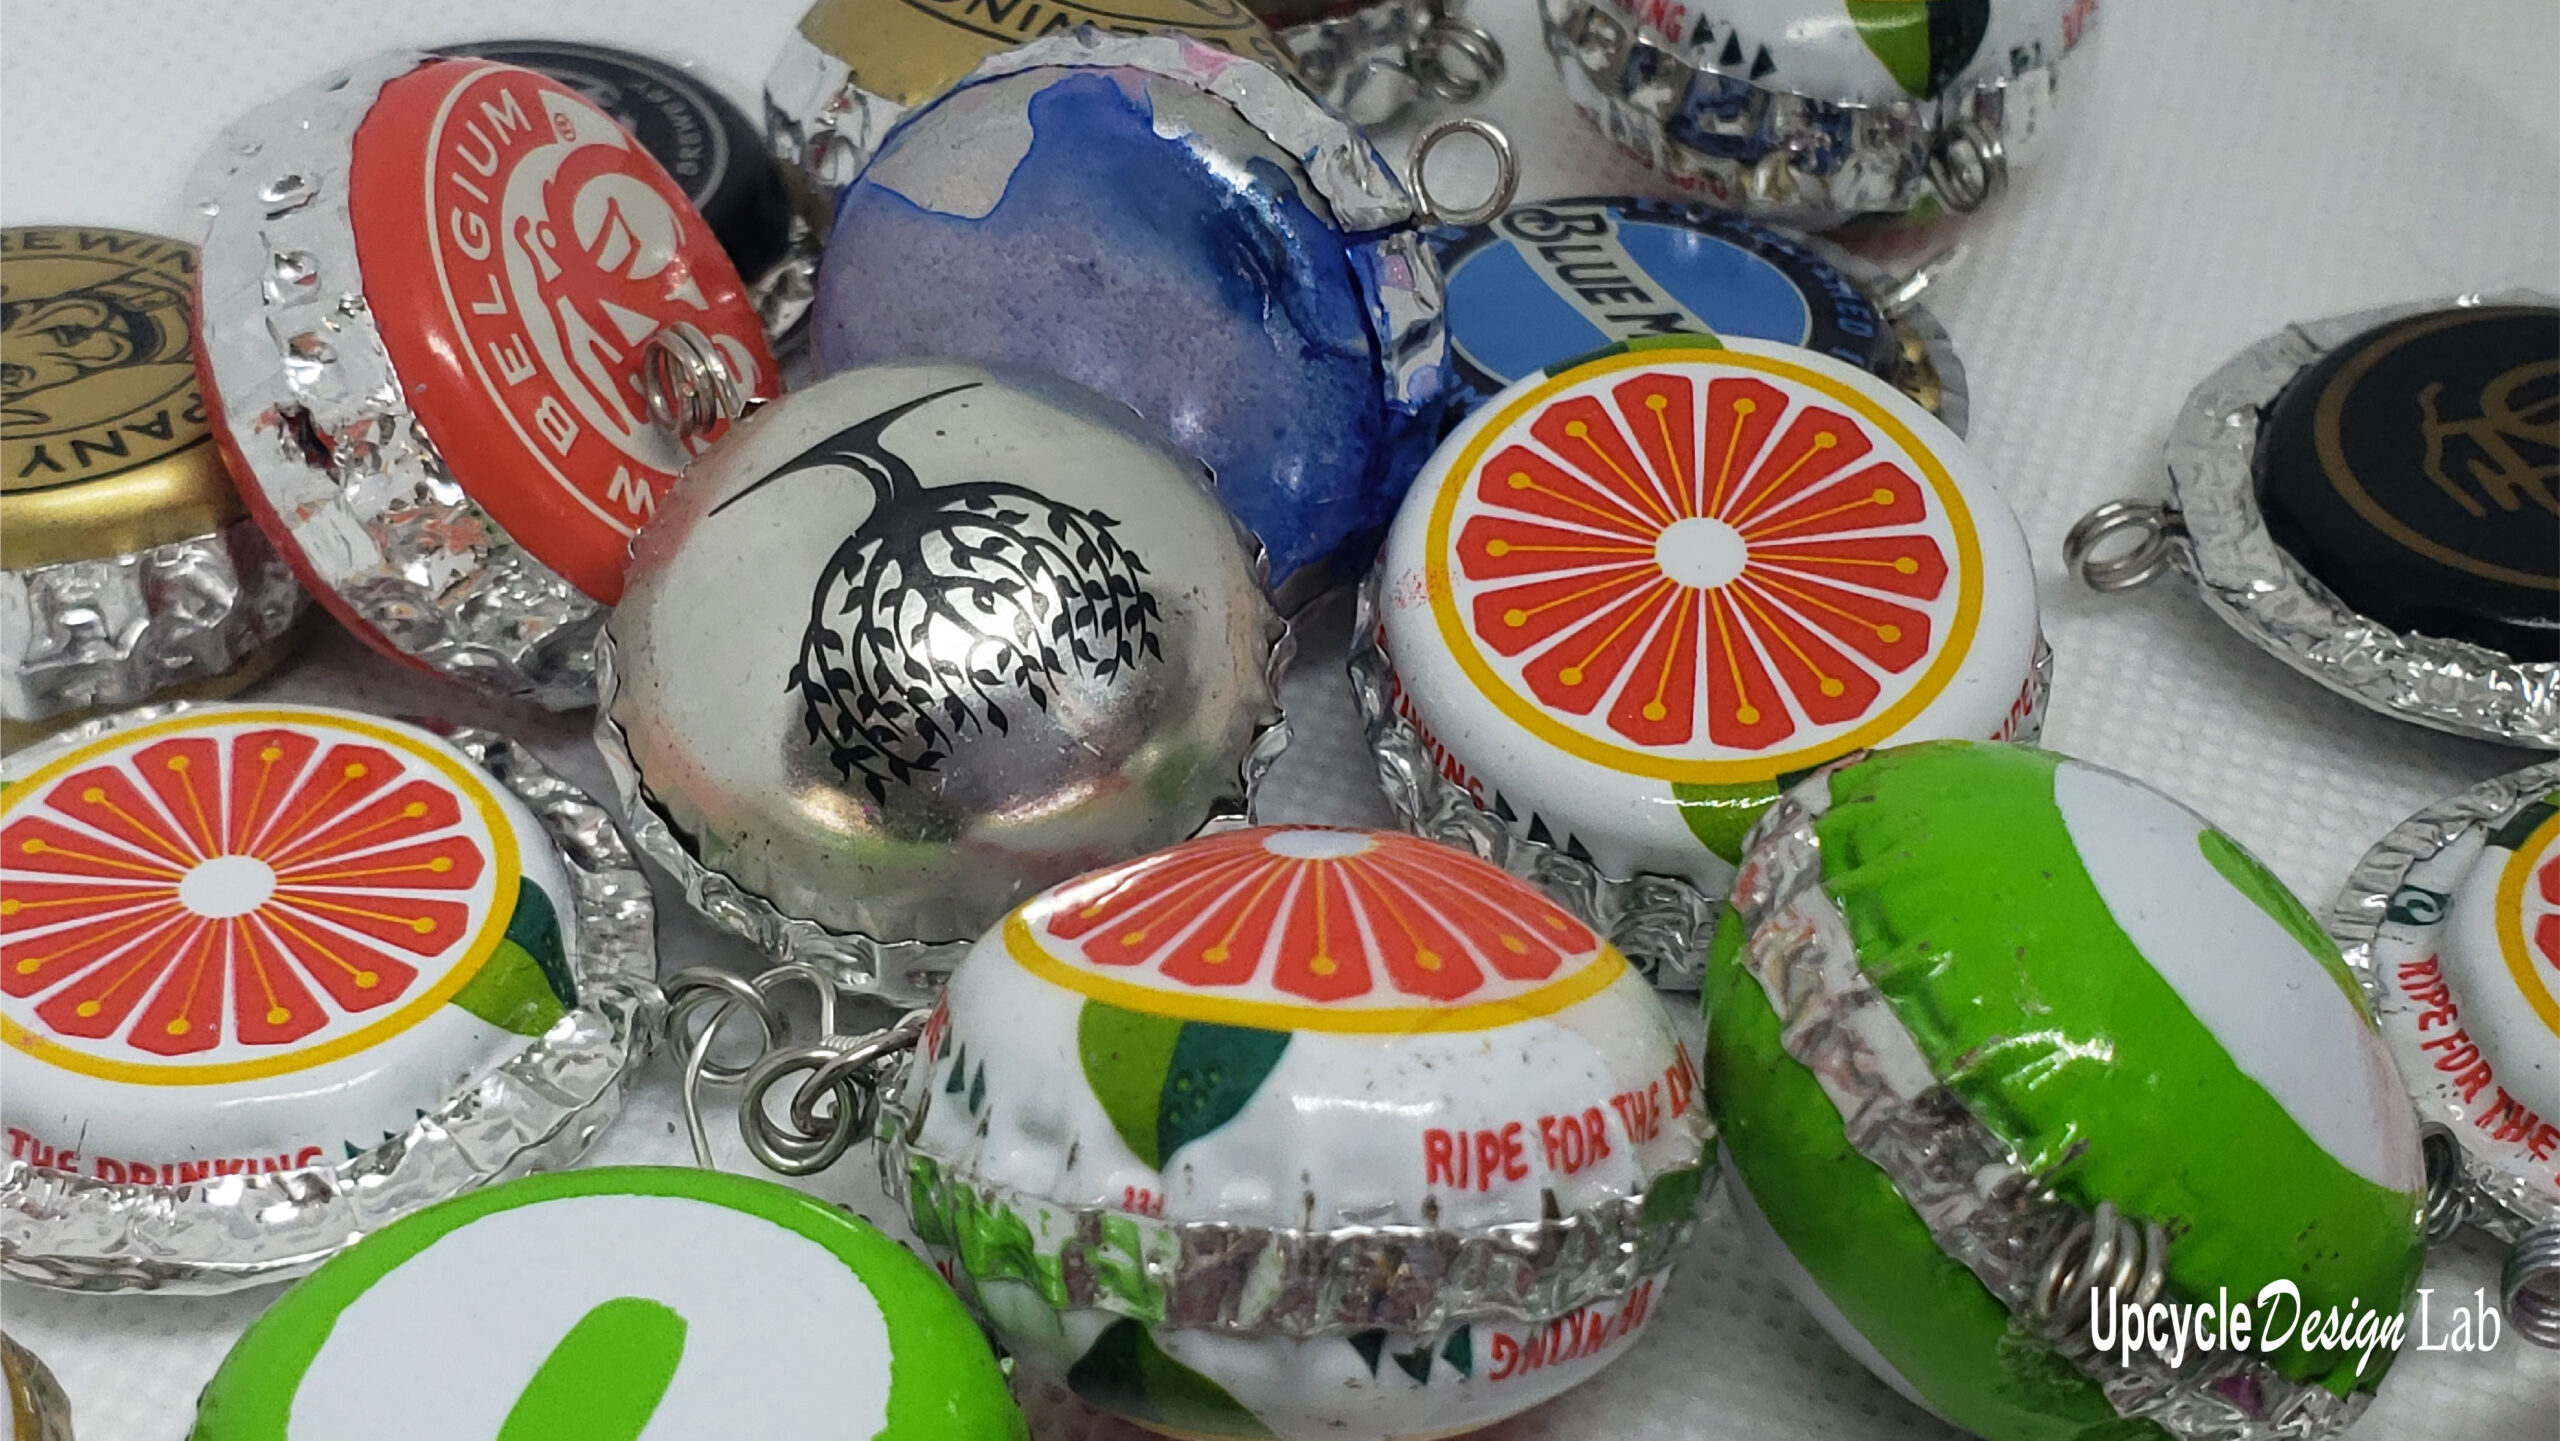
Do you save your bottle caps? I have always thought they were fun and collectible, and today, I will show you a simple way to make beads and charms from them. And best of all, it’s easy, and no soldering is involved. You can find all the basic steps below and a more detailed tutorial in the video above.
Shapes
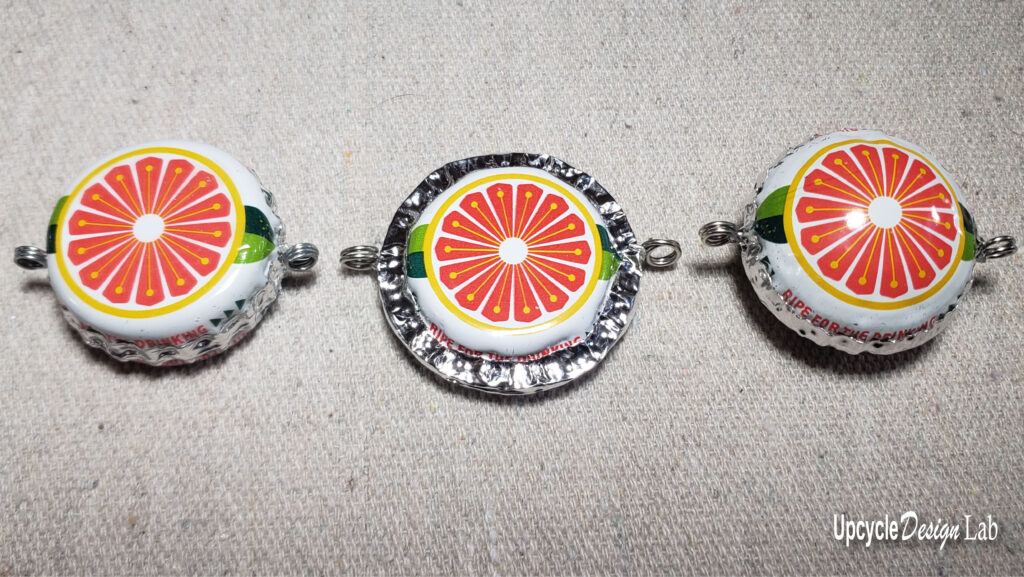
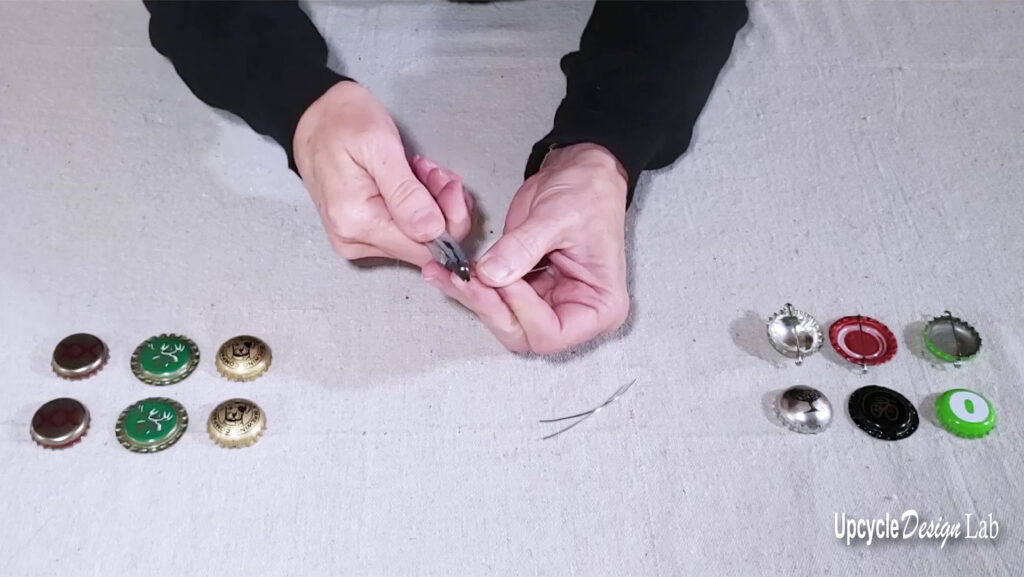
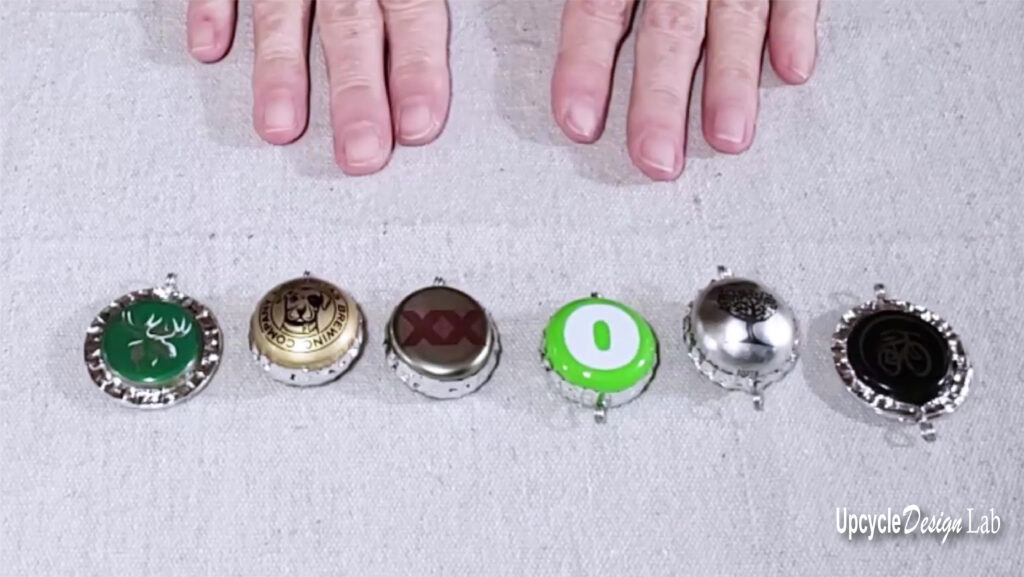
There are three shapes that can easily be made from metal bottle caps. I am calling them cap-shaped, flat-shaped, and dome-shaped.
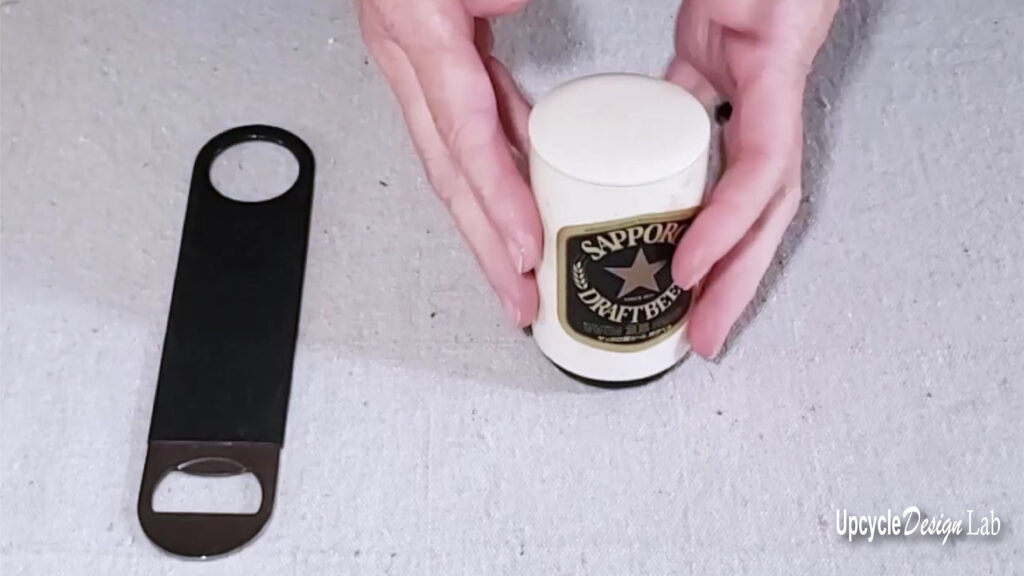
Step 1 – Removing The Bottle Caps
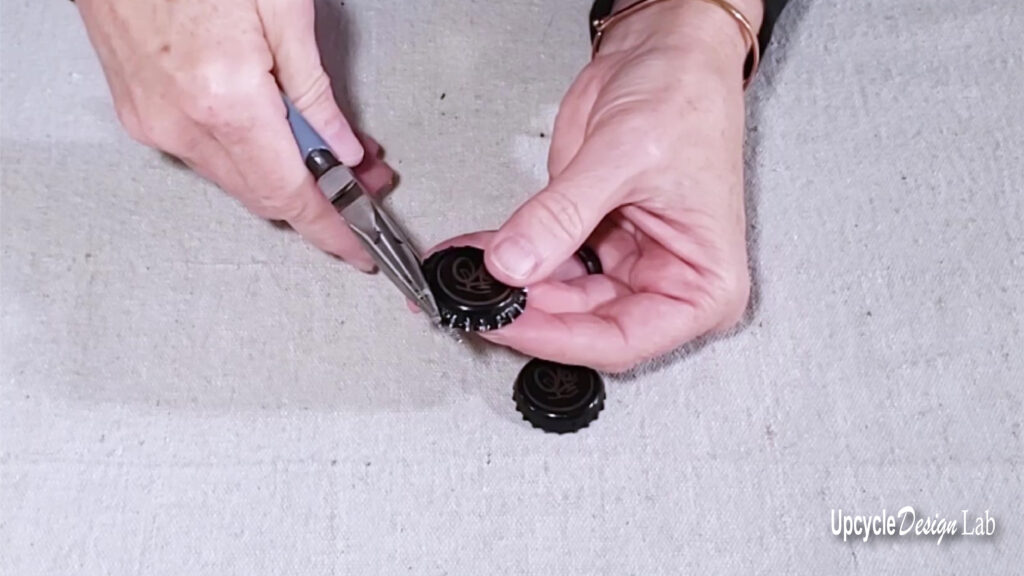
You can use a regular bottle cap remover if you wish, but I prefer to use a pop-top bottle opener. They are inexpensive and can remove the cap without causing damage to the caps like a conventional bottle opener.
Step 2 – Shaping The Bottle Caps
For the “cap-shaped” bead, there is no reshaping of the bottle cap, but you do want to find two caps that fit together without any gaps between the edges.
To make the “flat-shaped” bead, you will need a pair of needle nose pliers. I start by gently pulling the crimped edge of the cap out and away from the center and continue working with the needle nose pliers around the bottle cap until the crimped edge is flat.
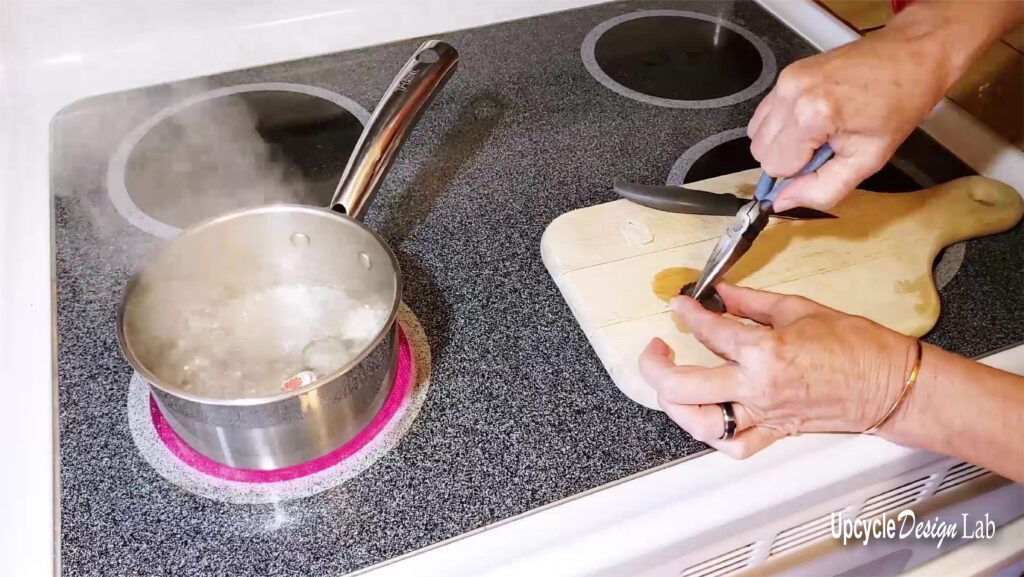
You will need a dapping set and the needle nose pliers to make the domed shape. The first step is to remove the rubber seal from the inside of the cap. To do this, boil the caps in water for two minutes and then use the needle nose pliers to remove the plastic seal.
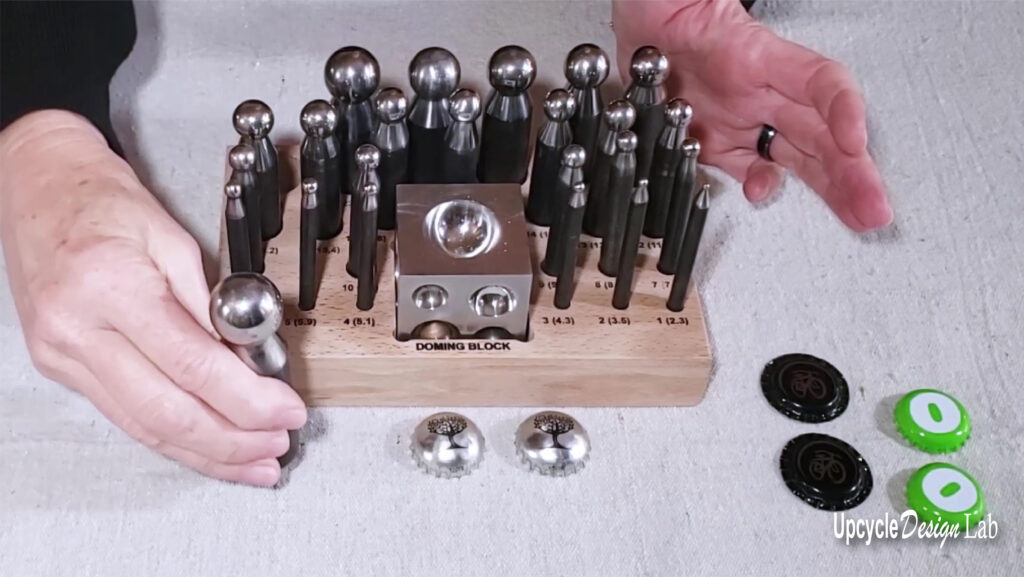
I used a 36-piece dapping set. I selected the biggest punch to dome the bottle caps and started in the largest dimple in the dapping block. Next, I used a hammer to tap the punch and shape the bottle cap. Once the bottle cap conformed to the shape, I repeated the process in the next size on the dapping block. To finish shaping the cap, I moved down one more size on the dapping block.
Step 3 – Wiring The Beads and Charms
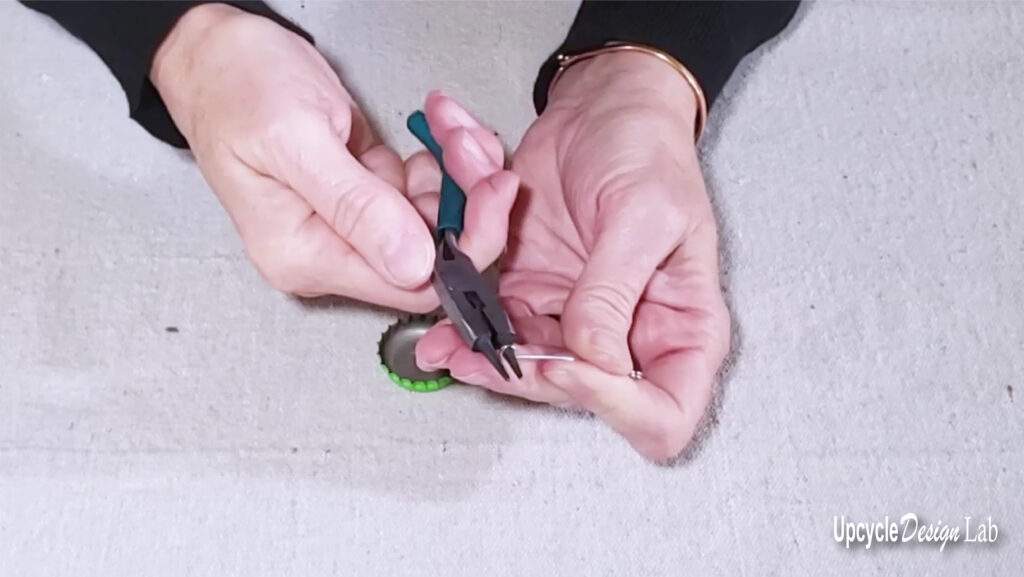
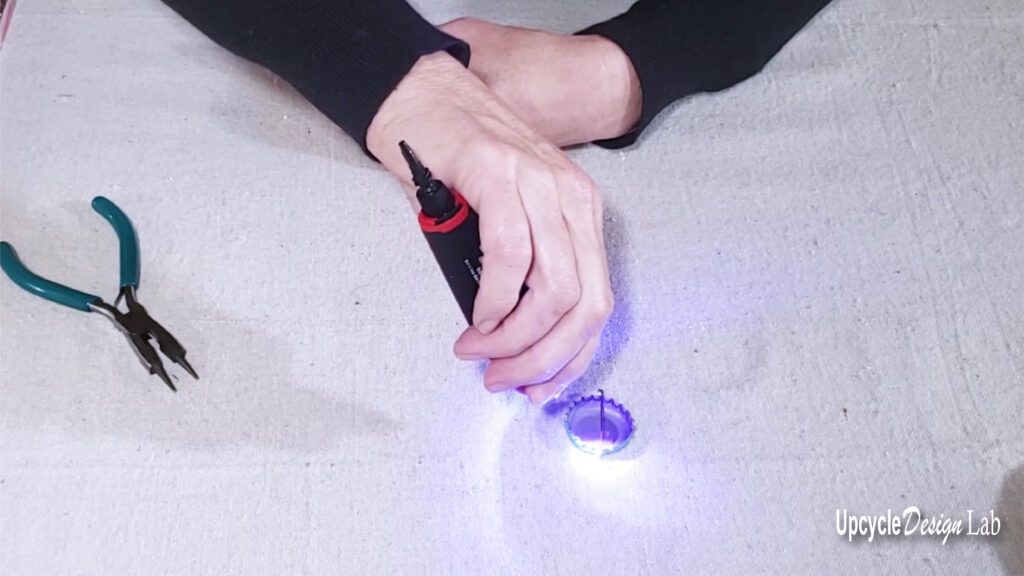
I used 20 gauge wire for my beads. You will also need a pair of round-tipped jewelry pliers for this step. To make the bead, you will need a piece of wire that is the diameter of the bottle cap plus two inches. Coil the wire on both ends to equal two full wraps around the barrel. The wire should fit snuggly across the bottle cap. Once the coils are adjusted to fit the bottle cap, glue the wire to hold it in place.
I used JB Superweld with the UV light, which cures in 5 to 8 seconds so you can return to the project immediately.
The process for the charms is similar but I used a shorter piece of wire and only coiled one end.
Step 4 – Assembling The Beads and Charms
To assemble the beads and charms, I used some foil tape. You have probably heard me mention this tape if you have seen my other metal projects. It is excellent for all kinds of metal crafts.
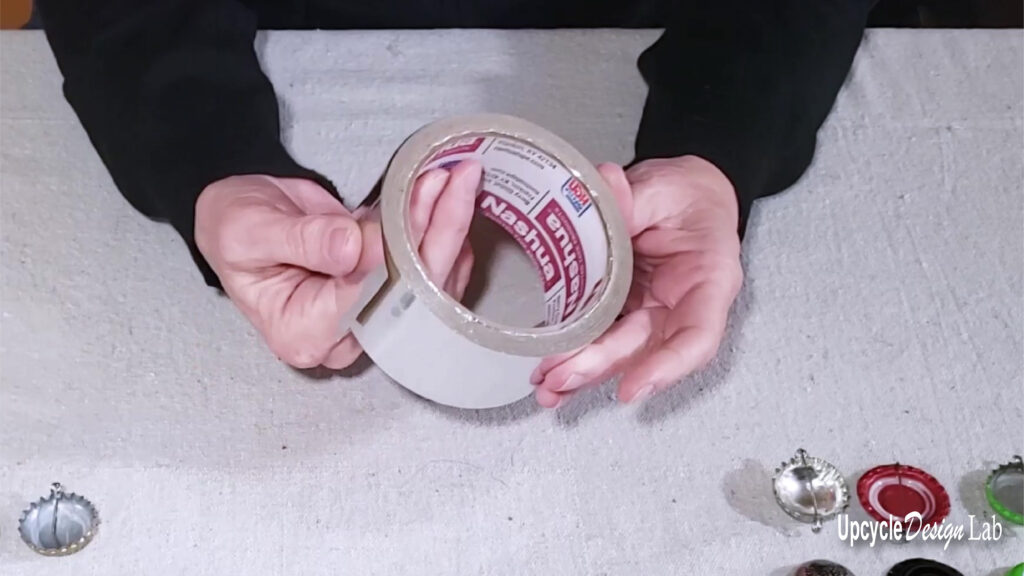
I cut the tape into strips and used it to assemble the two bottle caps. I used 1/4 inch strips for the domed and cap-shapes and 3/8″ for the flattened shape.
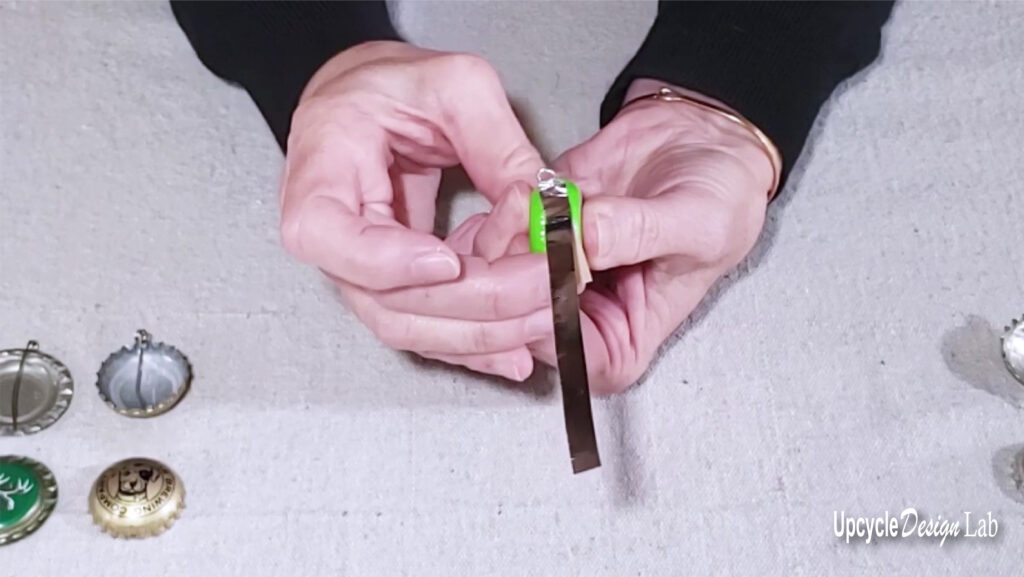
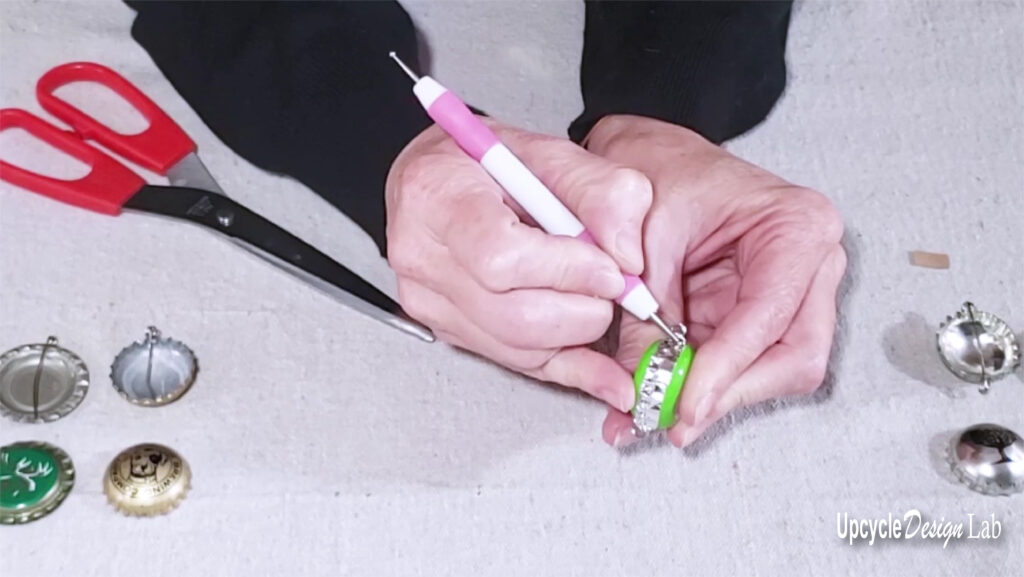
Once I had the tape pressed in place by hand, I went back over it with my embossing tool to burnish the tape to the metal.
I am not sure what to do with them, but I already want to make more. 🙂
Happy Upcycling,
Cindy
Advertising Disclosure: Upcycle Design Lab may be compensated in exchange for featured placement of certain sponsored products and services or your clicking on links posted on this website