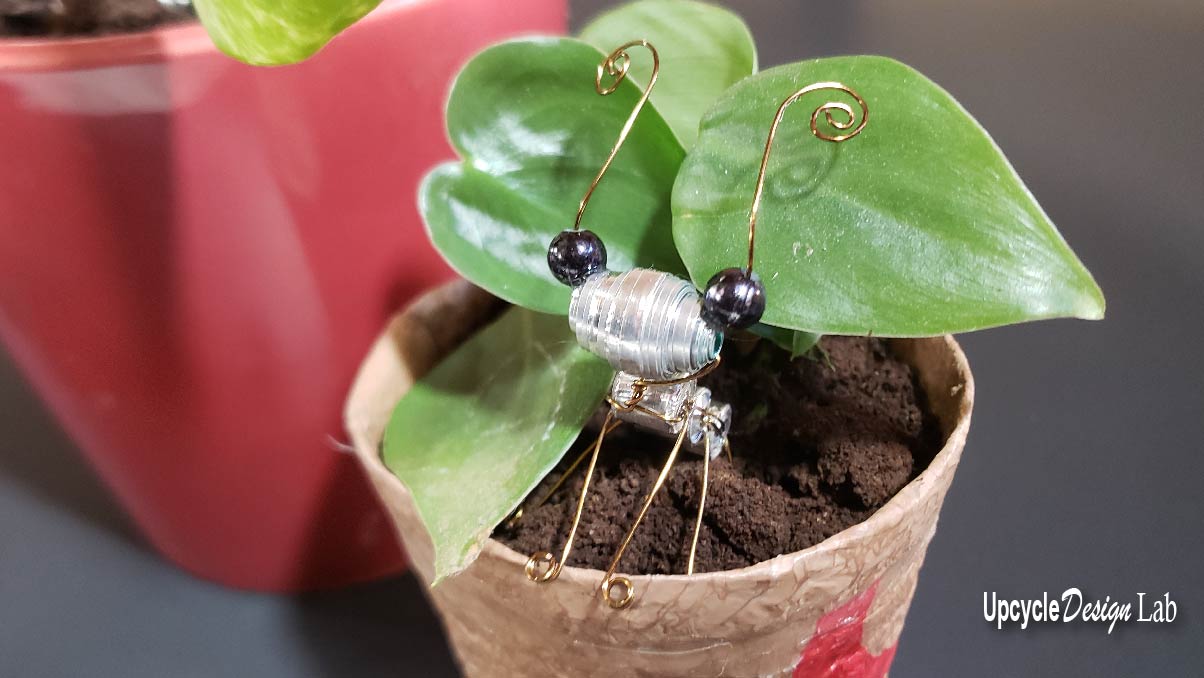
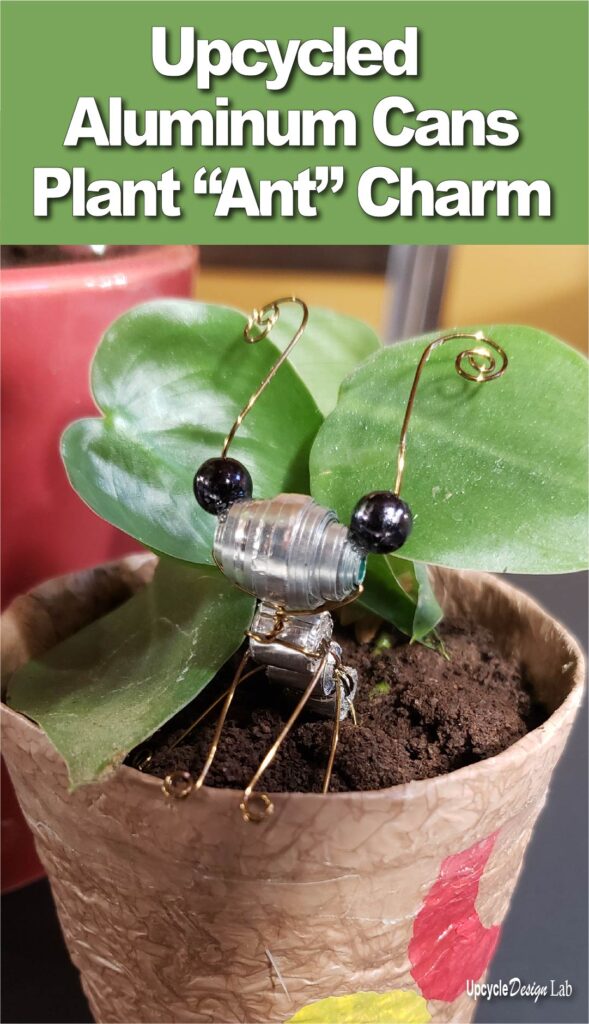
Upcycled Aluminum Can Creatures – DIY Ant Plant Charm
Bead templates are available at the bottom of this post.
Do you love houseplants? Is your house filled with all sorts of ornamental varieties? Is it a veritable encyclopedia of greenery? What is your secret? I would really like to know. I do enjoy having plants in our home, but the valiant philodendron is about the only thing that I can keep alive.
I guess you could call me a plant enthusiast as long as you don’t stretch the meaning of enthusiast to include any level of competency. Weeks pass without a thought of watering, and when I finally notice the drooping leaves and dust bowl soil conditions, I tend to overcompensate with water and useless apologies. Are there any plants that enjoy the alternating conditions of the Sahara and the Tsunami?
I have a grow light that I can’t remember to turn on, some good but terribly misguided intentions to plant seeds, and a growing sense of dread as the gardening season approaches.
It’s really just safer for everyone if I play with some trash instead.
And what better trash to play with than the ever-so-amazing aluminum can? What, you don’t think empty beer and soda cans are amazing? Well, let me try to change your mind.
Step 1 – Gather Materials
To make these little plant charms, you will need the following.
- Pairing Knife or Exacto Knife
- Craft Scissors
- Glue Stick
- Small Wooden Skewer
- Green Creativity Bead Roller
- Metal Tape
- 2 Round Black Beads 5mm
- 22 gauge wire
- Round Tipped Jewelry Pliers
- Ruler
- E6000 Glue
- Toothpick
- 1 Aluminum Can
- Bead Template
You can follow along and make the project with me in the video above or check out an overview of the steps below.
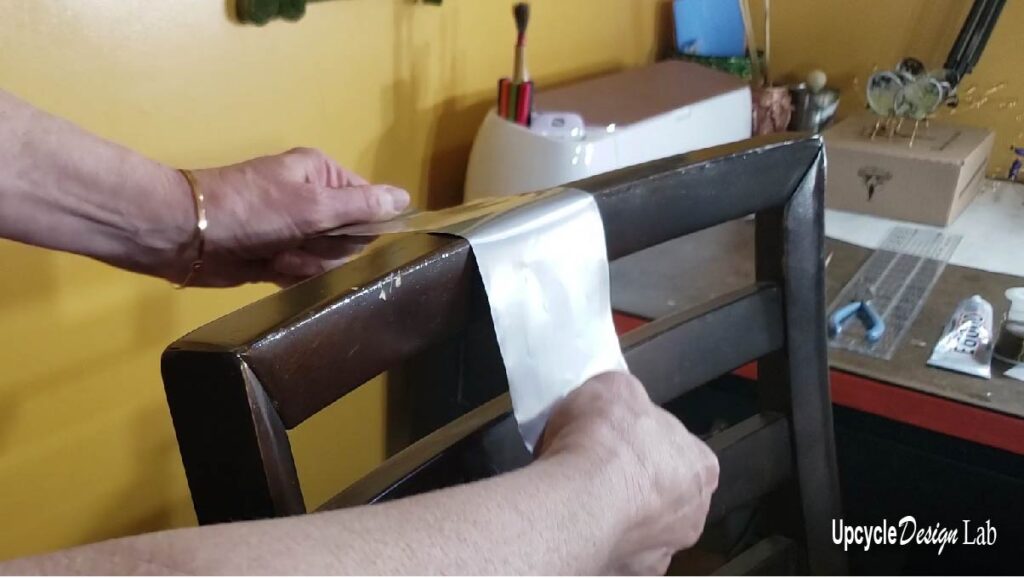
Step 2 – Cut and Flatten Can
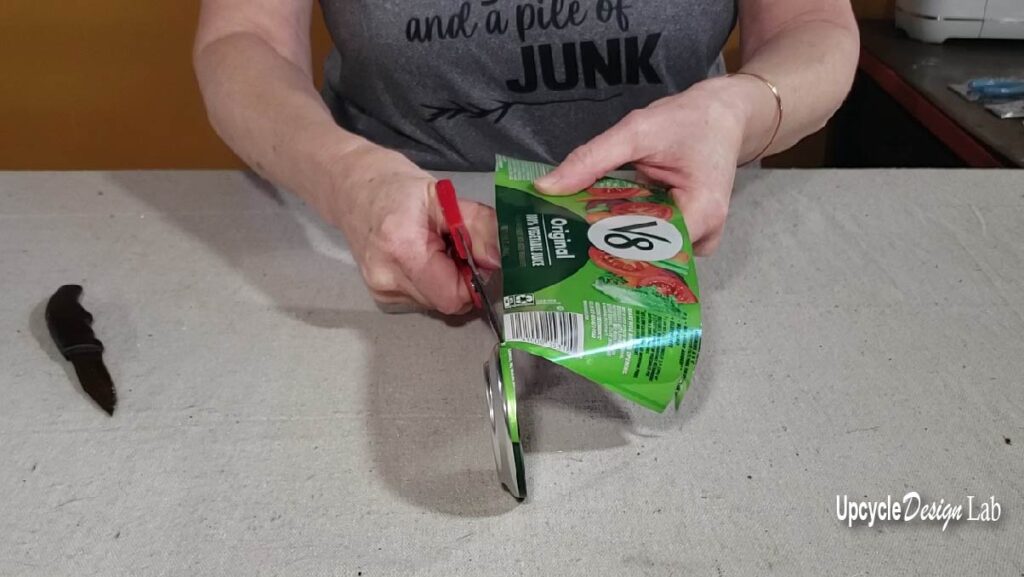
The first step is to cut the top and bottom from the can using a knife and scissors. Next, use the edge of a table to flatten the wall portion of the can.
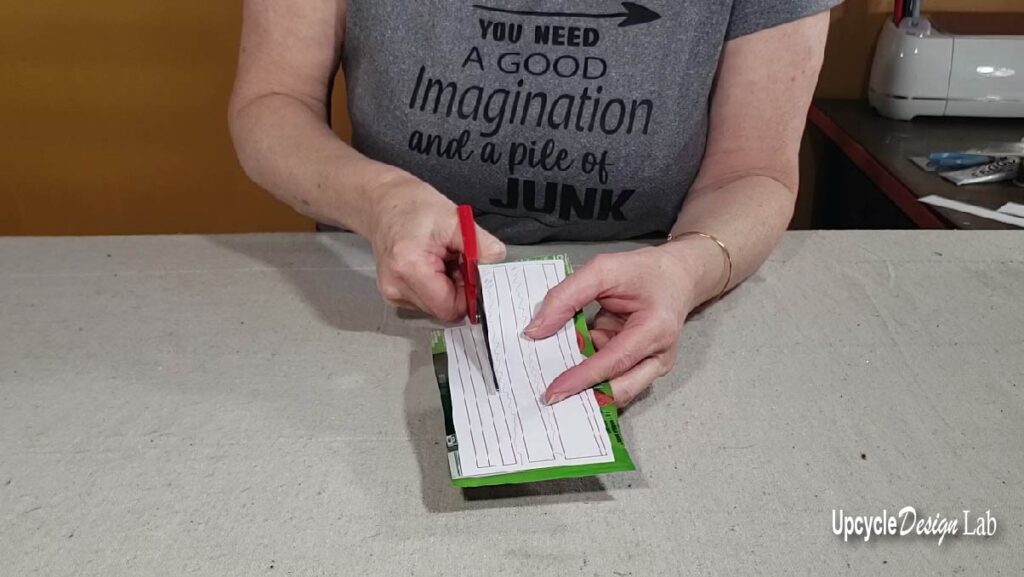
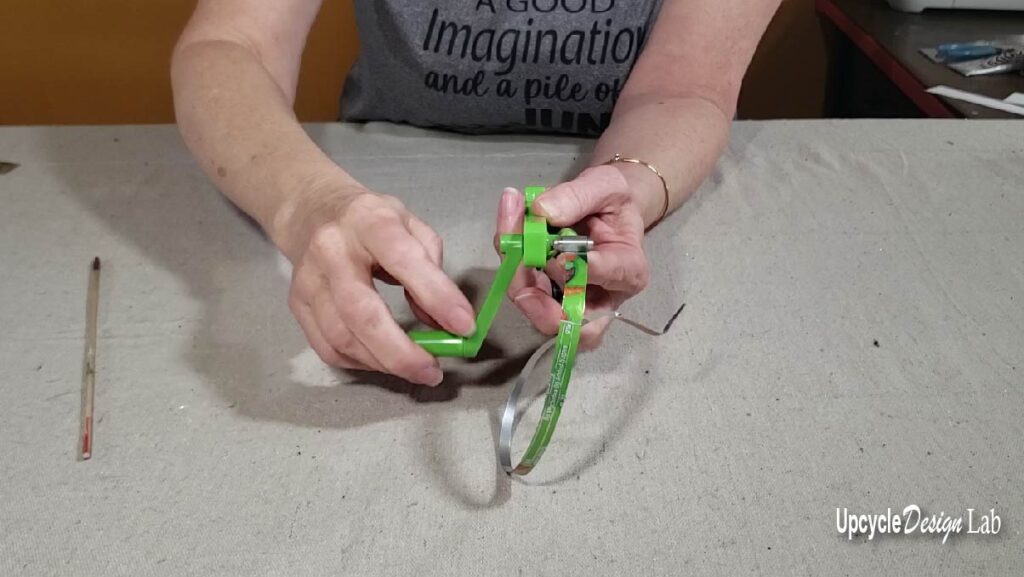
Step 3 – Cut and Roll Beads
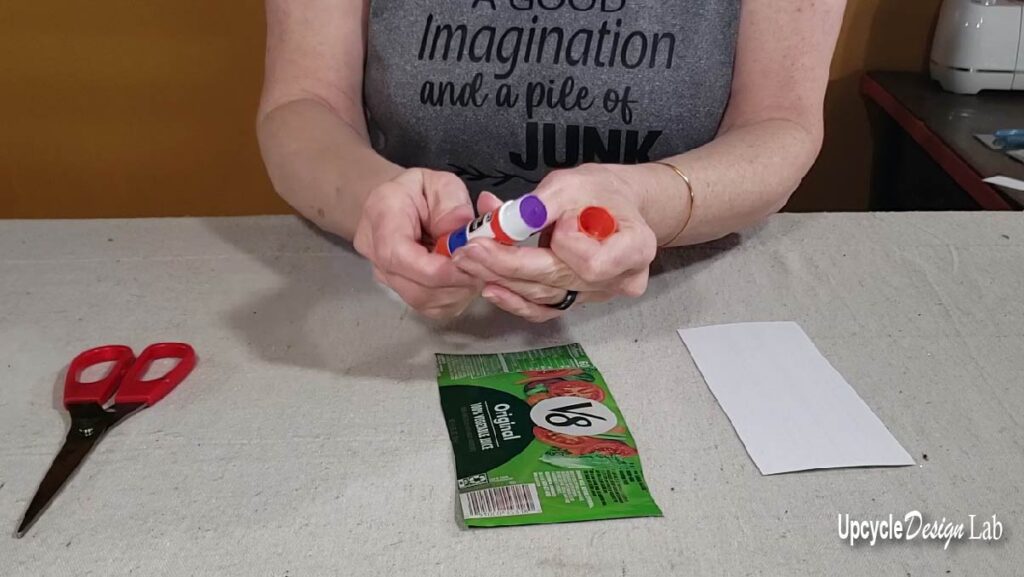
Tape the paper template to the aluminum sheet using the glue stick and carefully cut out the template. Once the pieces are cut, remove the paper from the aluminum.
To prepare the bead for rolling, apply a piece of metal tape to the one end of all three of the quarter-inch straight beads. Next, roll beads starting at the opposite end and secure the bead with the metal tape.
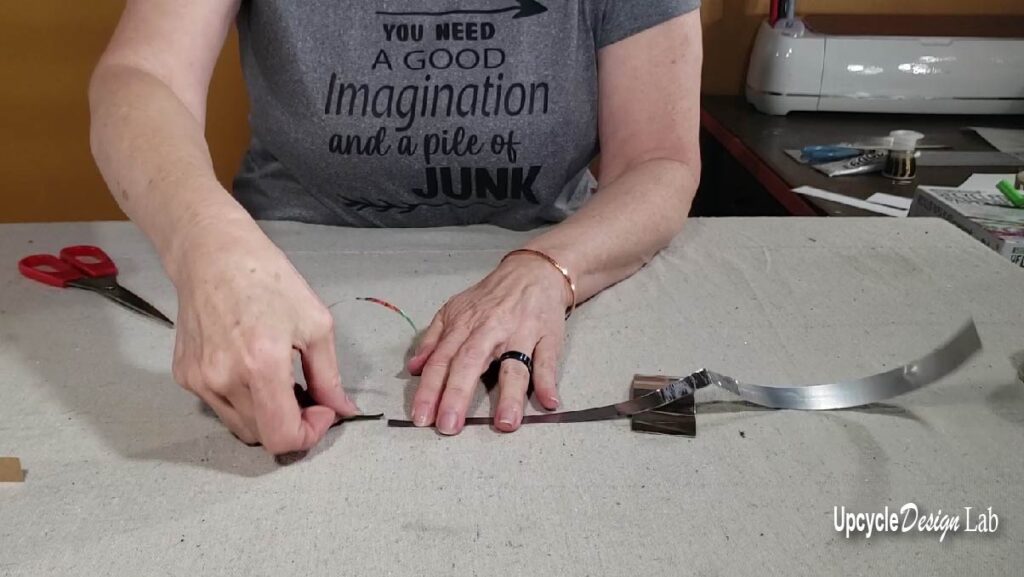
To make the larger bead, you will need to assemble the three tapered pieces using the metal tape into one long tapered piece before rolling. You will need to add a piece of tape to the tapered end before rolling to secure the bead. I use the small skewer to start the coil in the metal before using the bead roller.
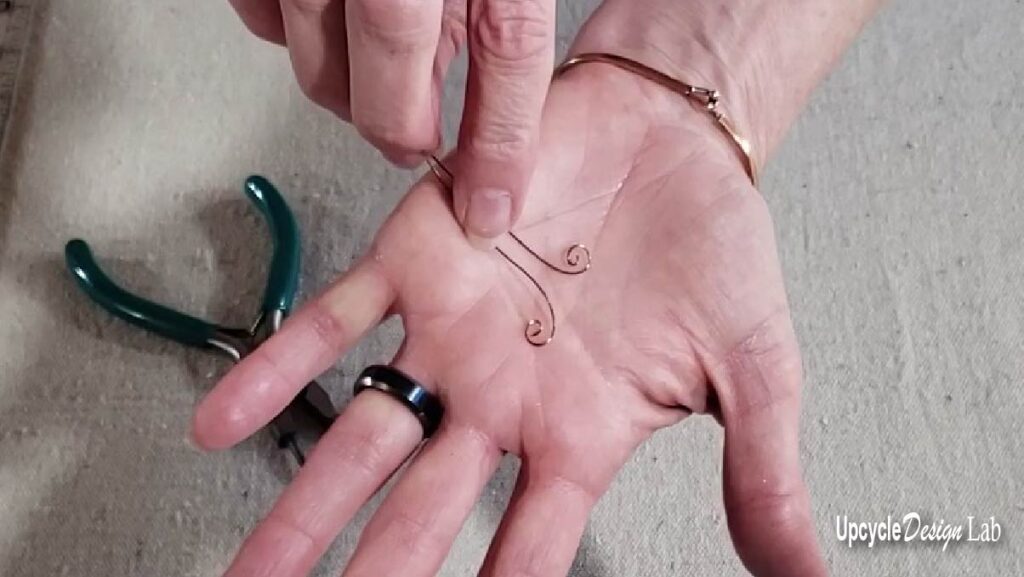
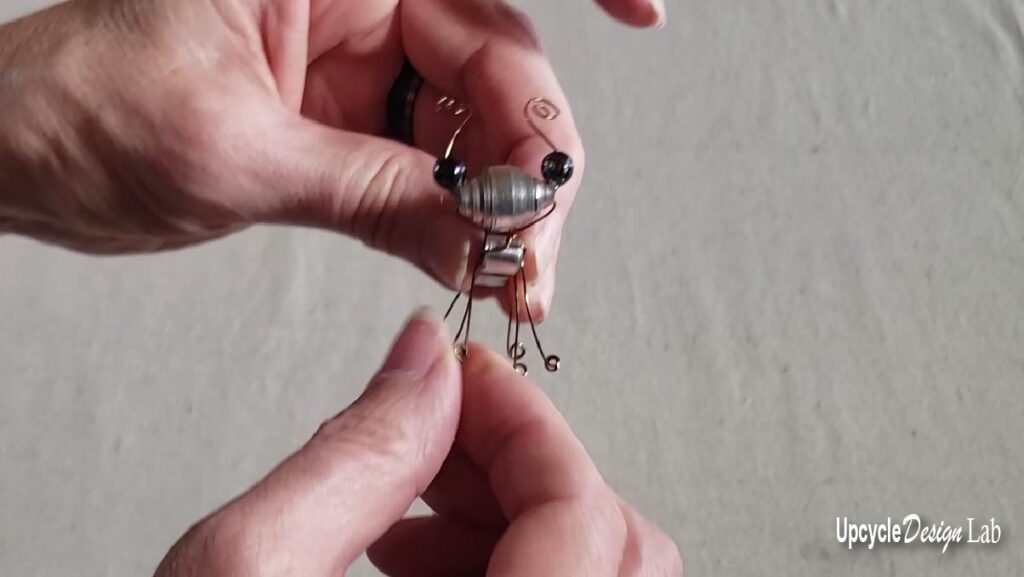
Step 4 – Assemble the Head
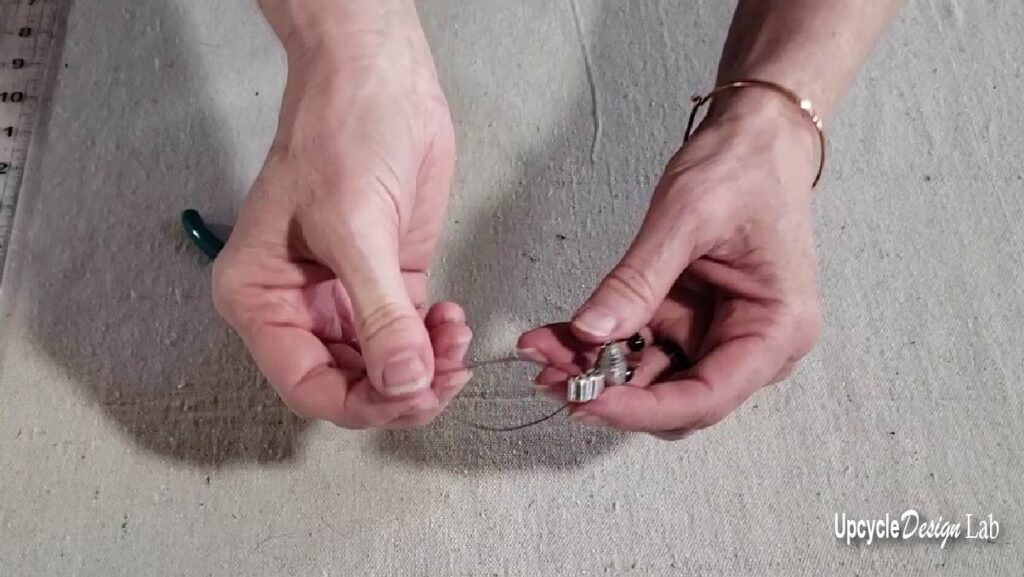
To begin the assembling, cut two pieces of wire 6 inches long and use the round-tipped jewelry pliers to make a loose coil on one end of each wire.
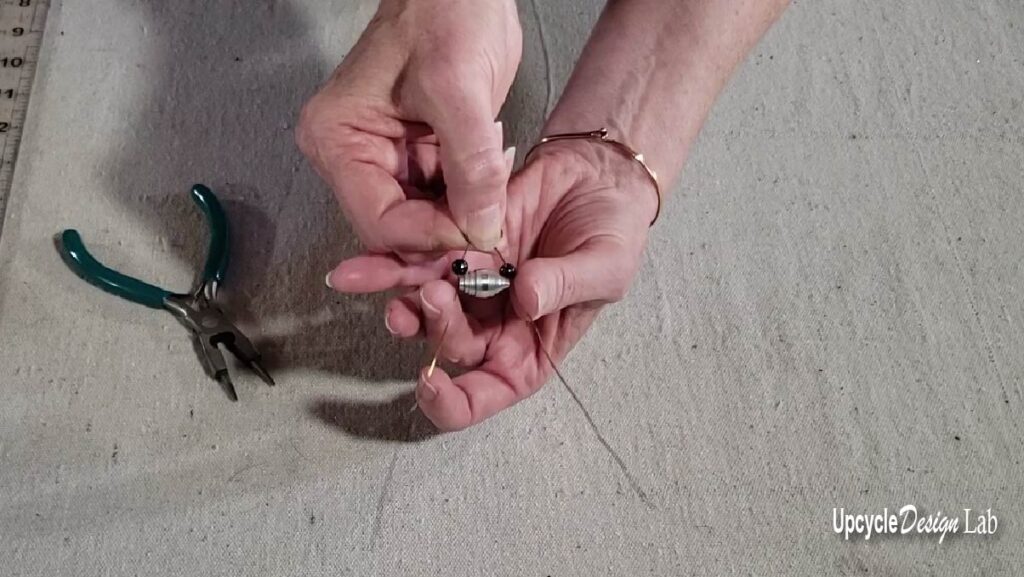
Next, thread on black 5mm round bead onto each wire. Take the large oval bead and thread one wire in each direction through the bead.
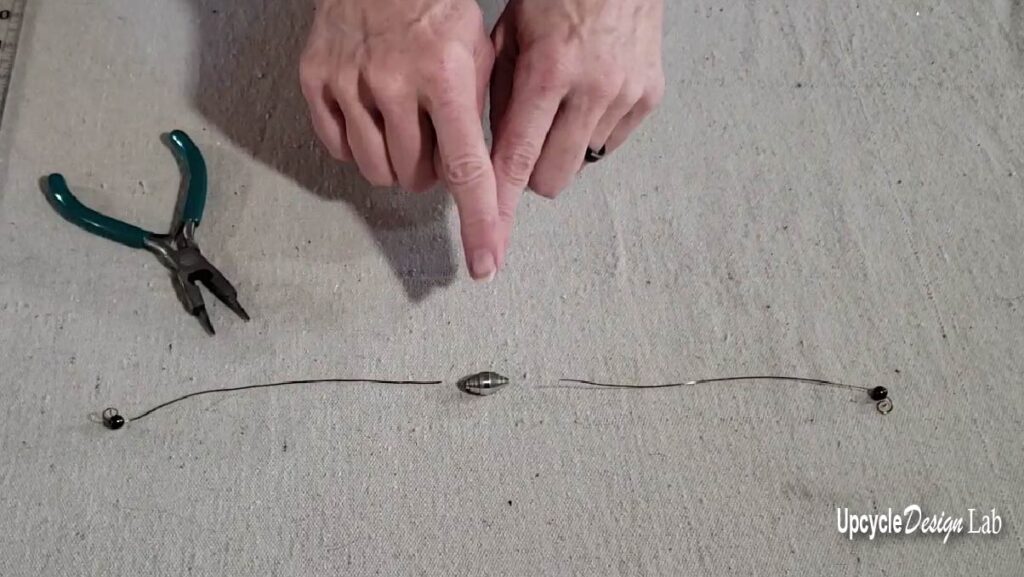
Bend the coiled end to make the antenna approximately 1 inch long. To finish assembling the head, bend the long ends of the wire under the bead and twist 2 to 3 times to make the neck.
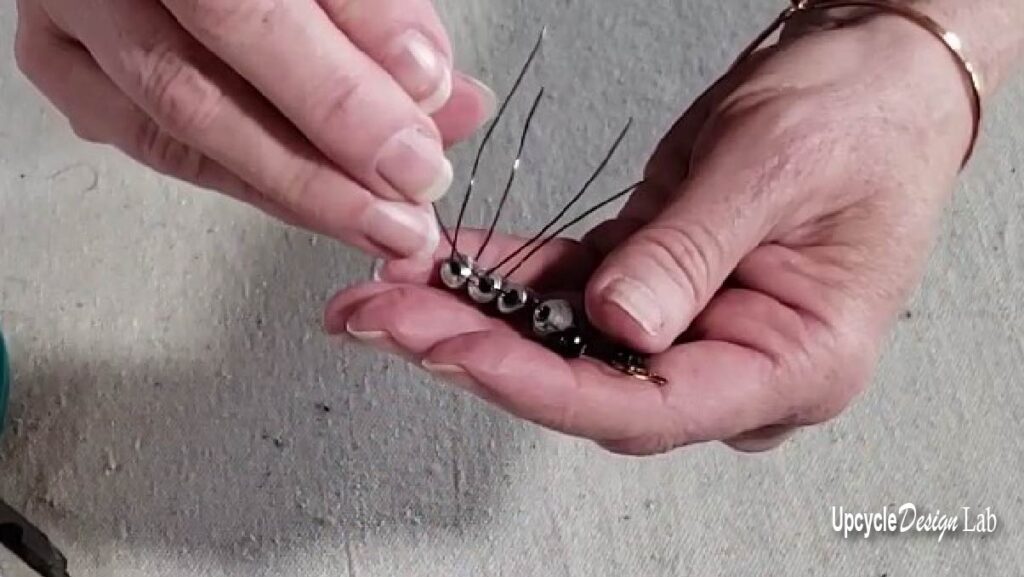
Step 5 – Assemble Body
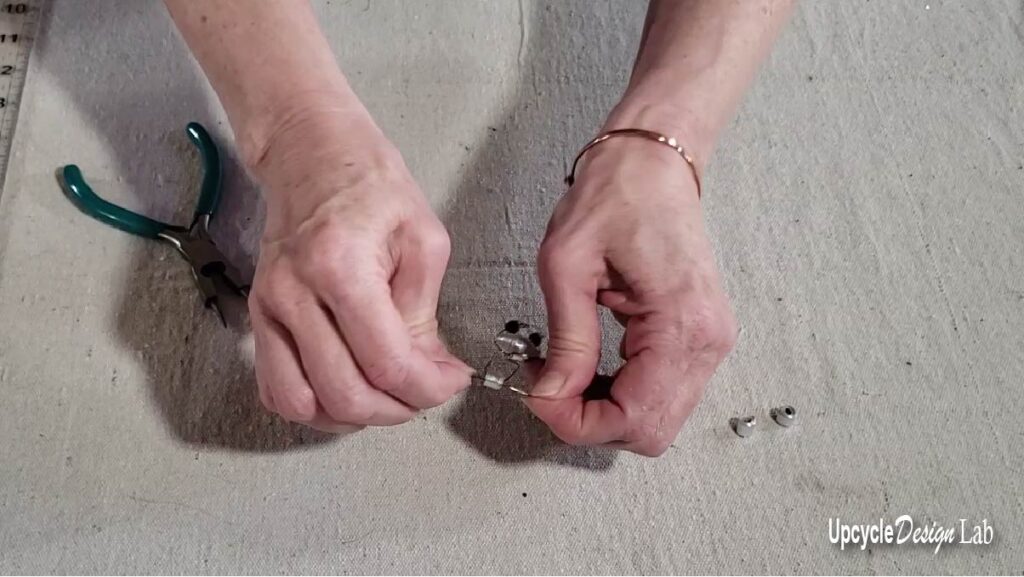
The body of the ant is made from the three remaining beads. Thread the two wires through the first bead in opposite directions and pull the wires to tighten and slide the bead into place. Repeat this process for the two remaining beads.
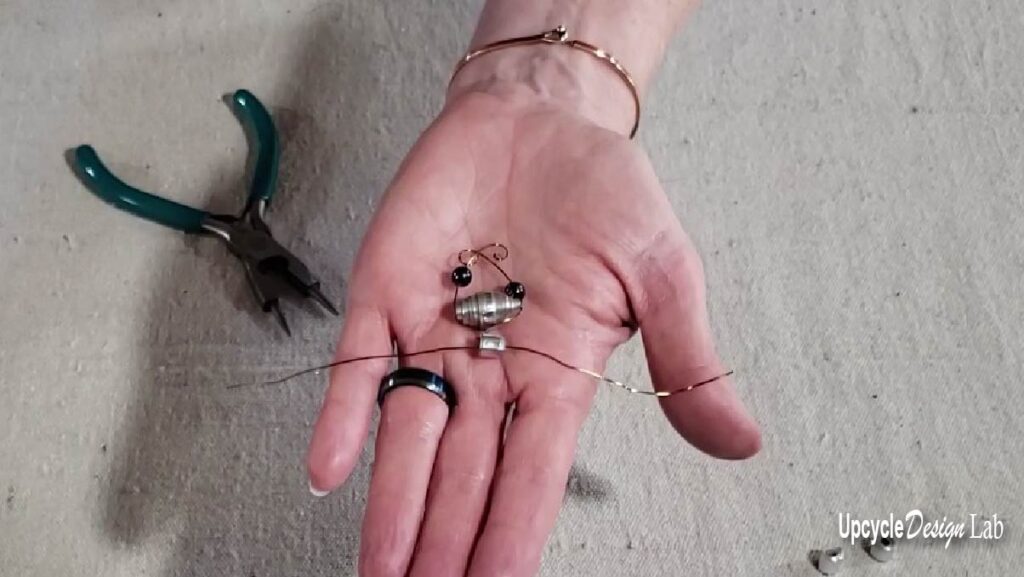
Step 6 – Attach Legs
Bend the remaining wire to a 90-degree angle with the last bead. Next, cut two more pieces of wire three inches long and thread one wire through the first and second beads. Bend the wires to a 90-degree angle with the beads making the lengths roughly even.
Step 7 – Glue
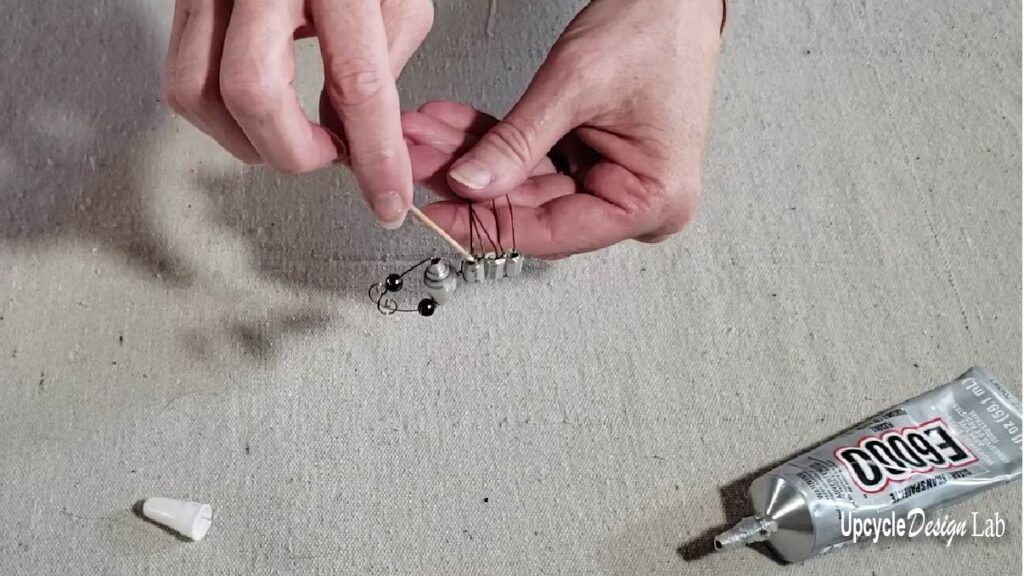
Use the toothpick to apply a small amount of E6000 glue to secure the wires to the beads and to secure the round black beads in place. Allow the glue to set up before continuing to the next step.
Step 8 – Final Shaping
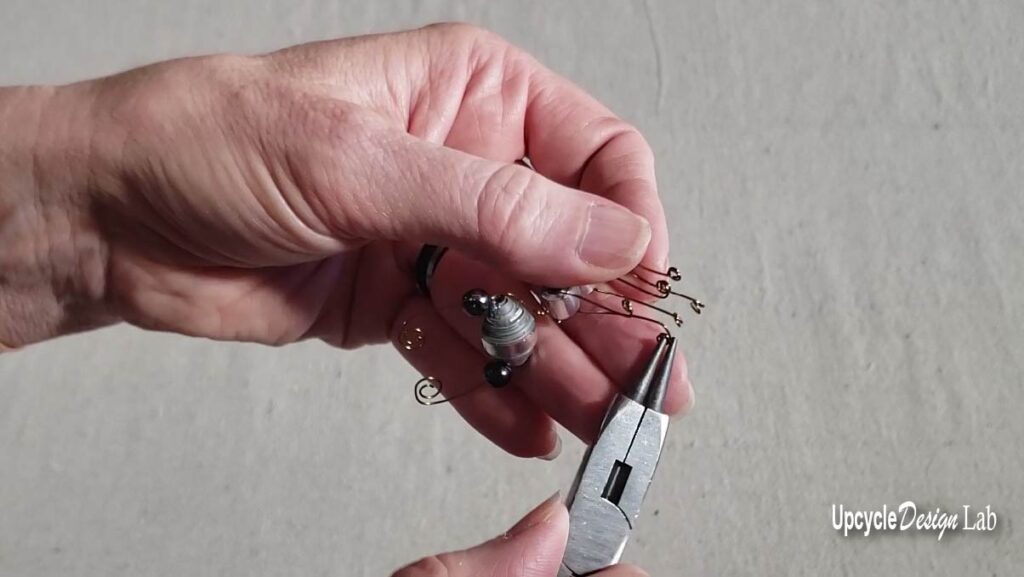
Once the glue is set, use the jewelry pliers to make small coils in each wire. Coil all the wires to the same length and shape the wires as desired to finish the project.
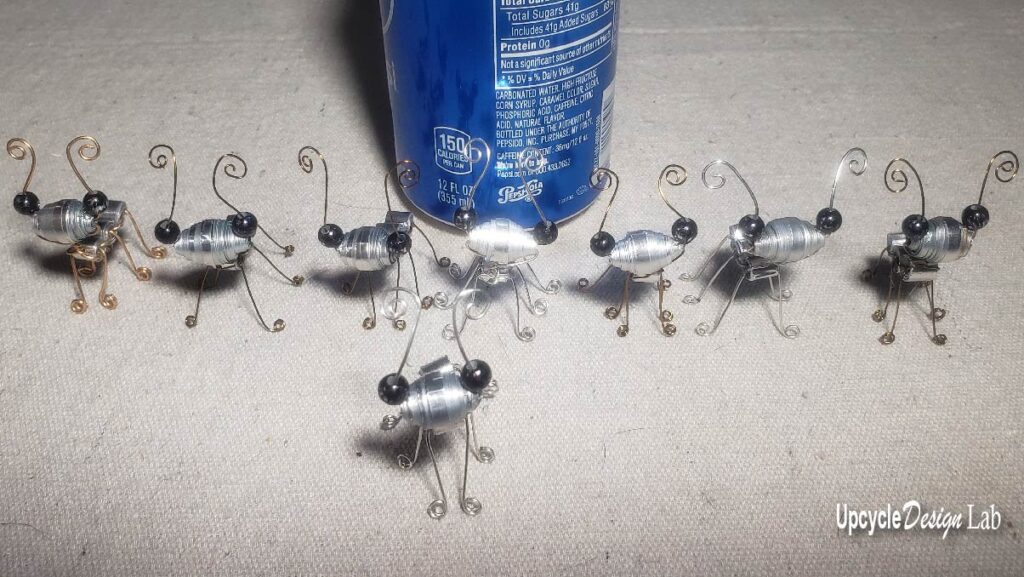
I enjoyed this project so much that I made my own little ant army.
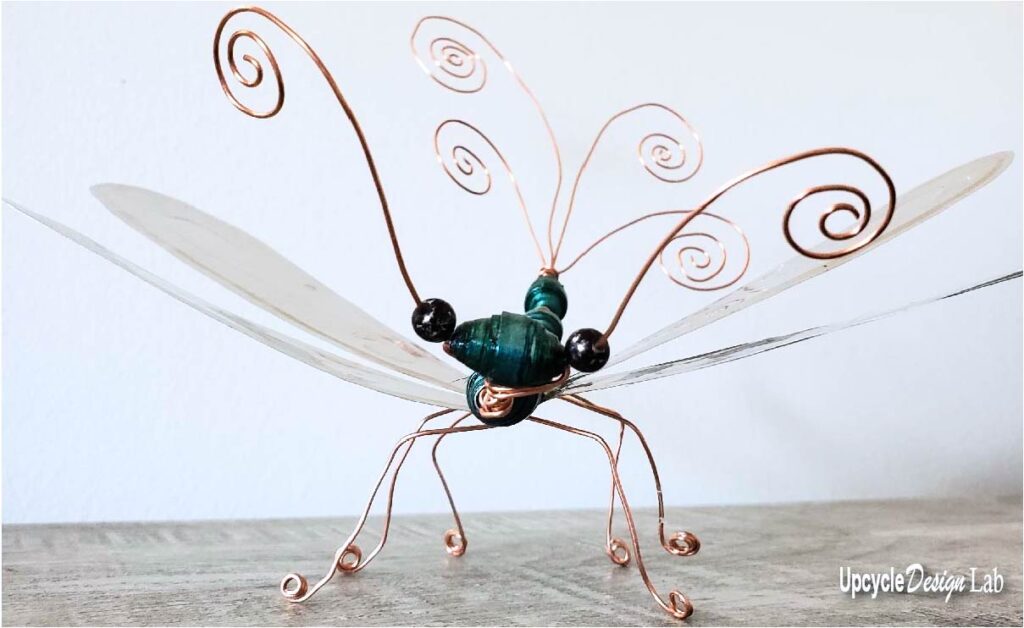
If you liked this project, be sure to check out my aluminum can dragonfly.
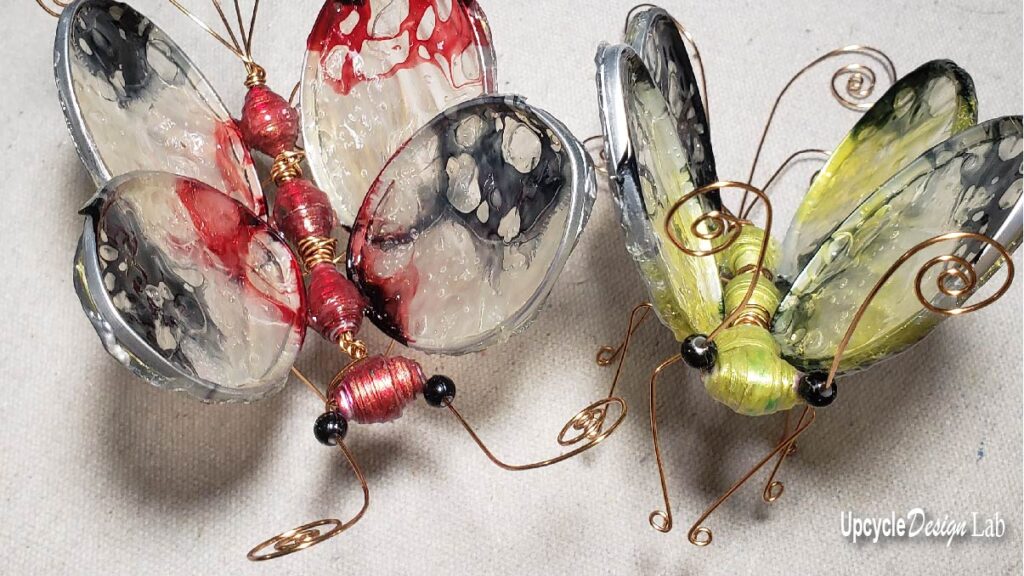
And stay tuned for this upcoming project – Aluminum Can Butterflies.
Happy Upcycling,
Cindy
Advertising Disclosure: Upcycle Design Lab may be compensated in exchange for featured placement of certain sponsored products and services or your clicking on links posted on this website.
Materials used for this project


